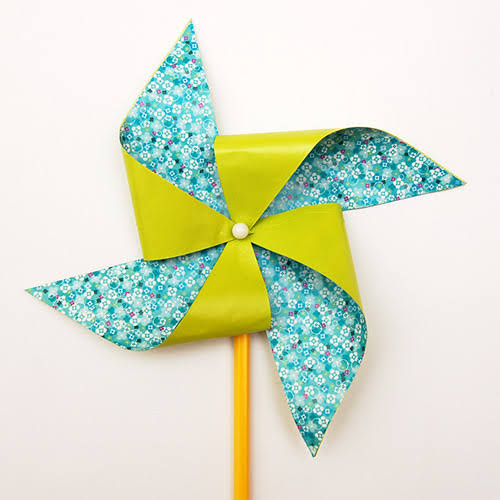
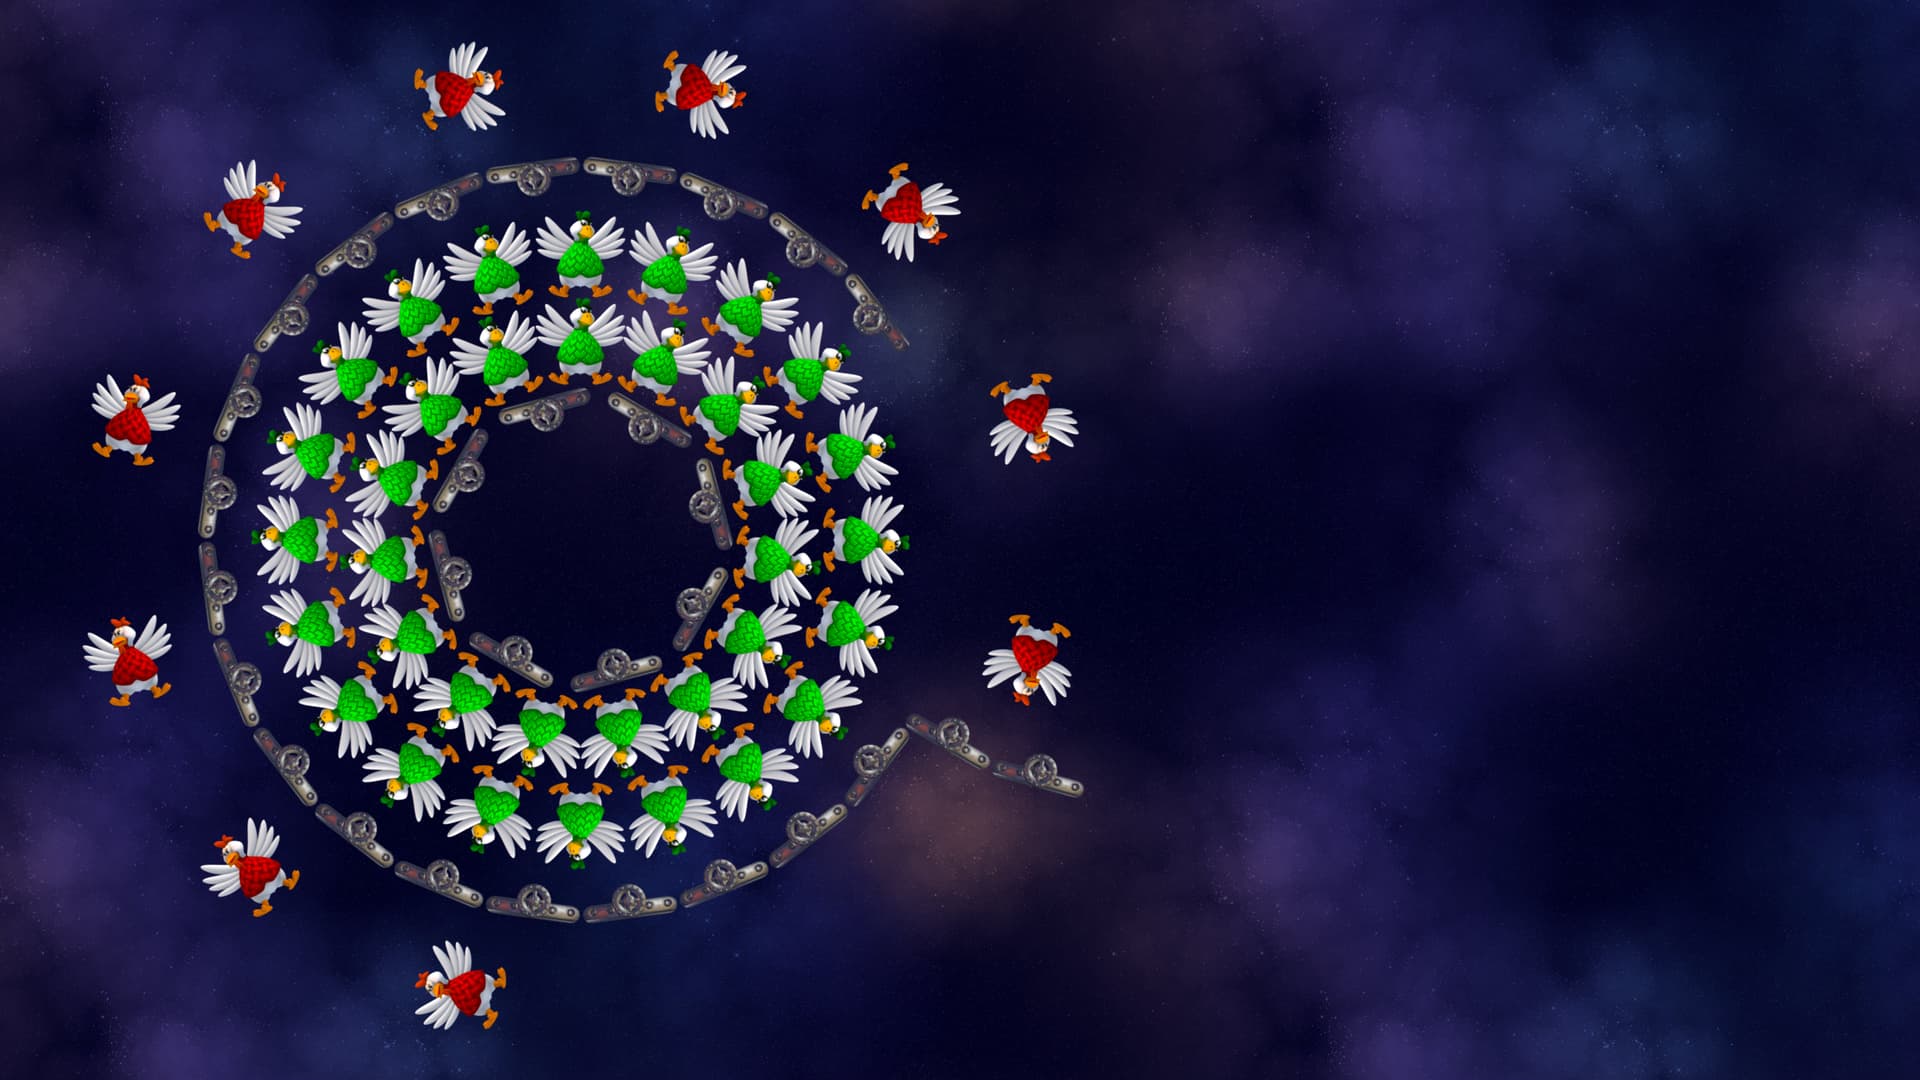
WAVE 1 - Pinwheel
This wave has chickens forming a pinwheel, which spins either clockwise or counterclockwise. Anomaly zones are place to the left and right side of the screen facing the pinwheel. Quite similar to the Windmill wave but it has (almost) no barriers, except the one in the center which functions as the pin of the wave.
WAVE 2 - Cross?
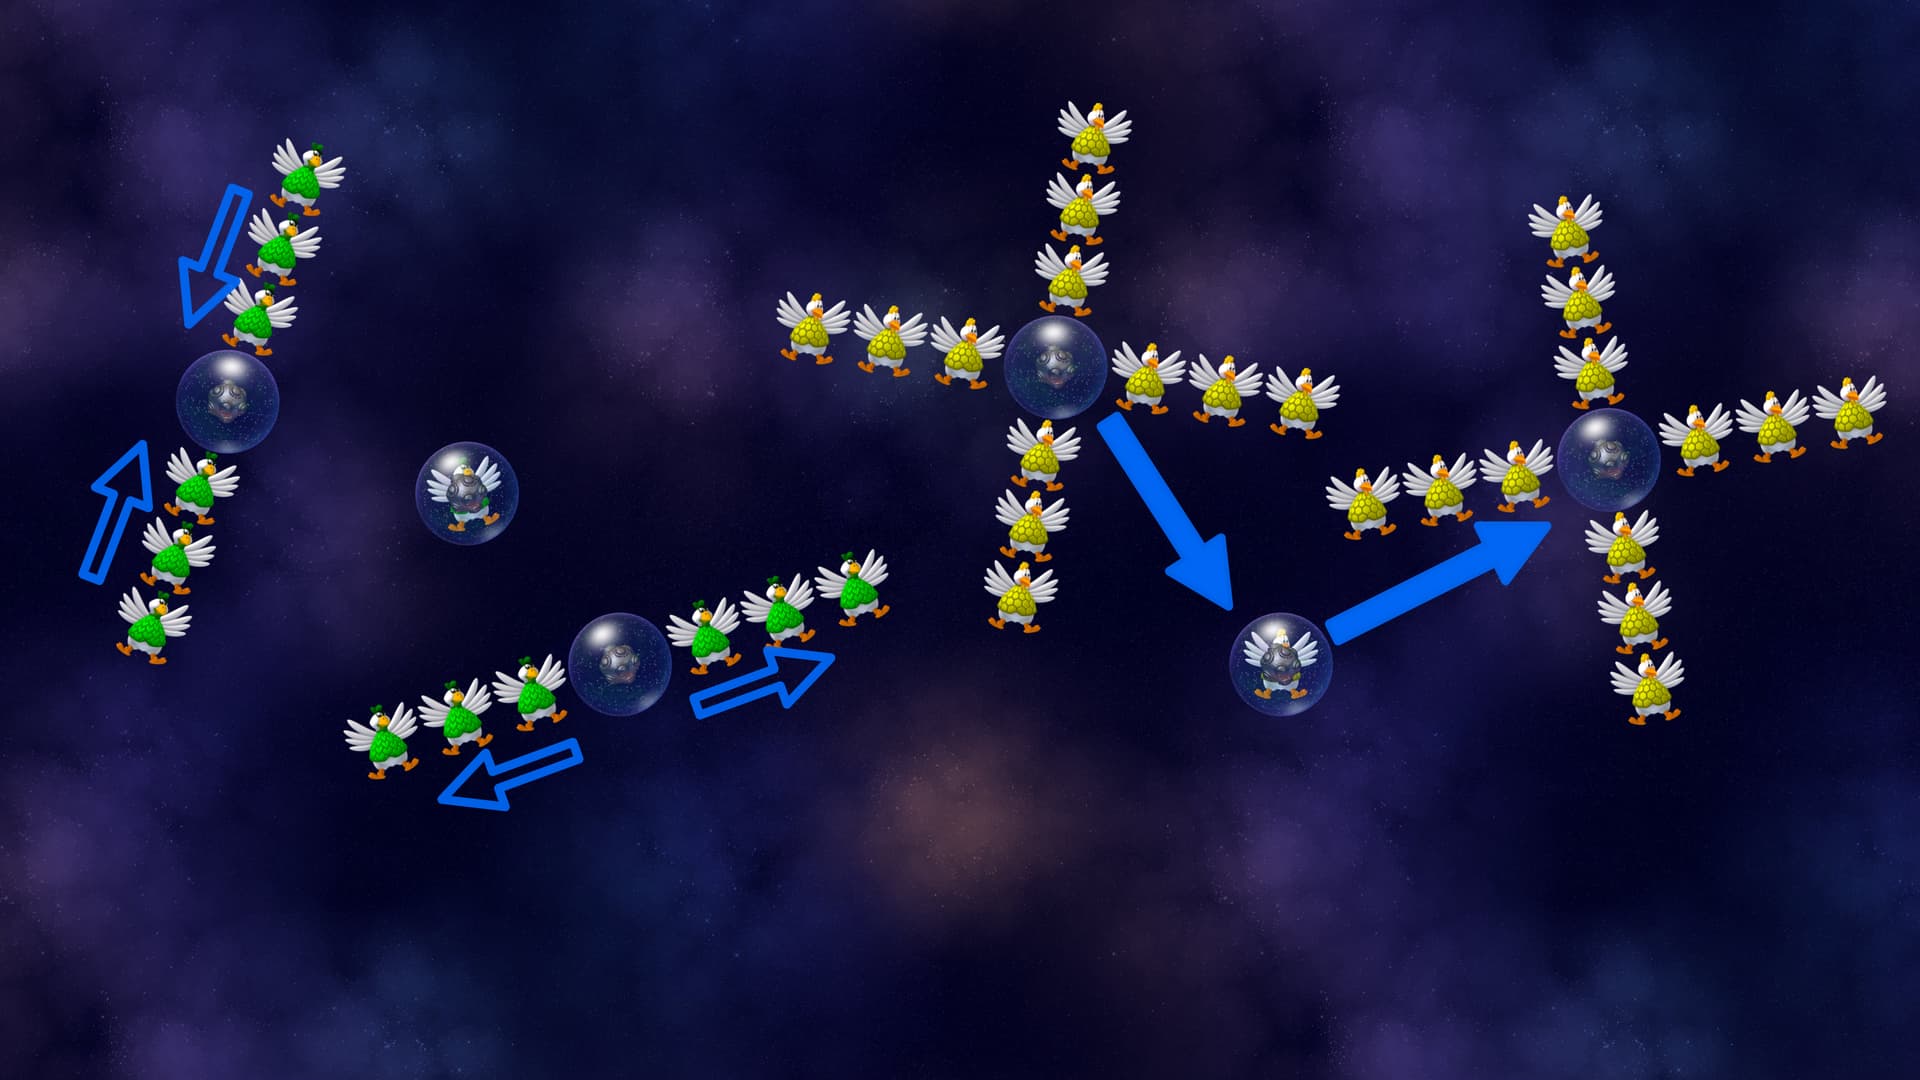
An inspiration from the moving blocks in Super Mario World where formation of enemies periodically hides behind a bubble protected barrier/enemy and expand after a short while forming either a cross or a straight line.
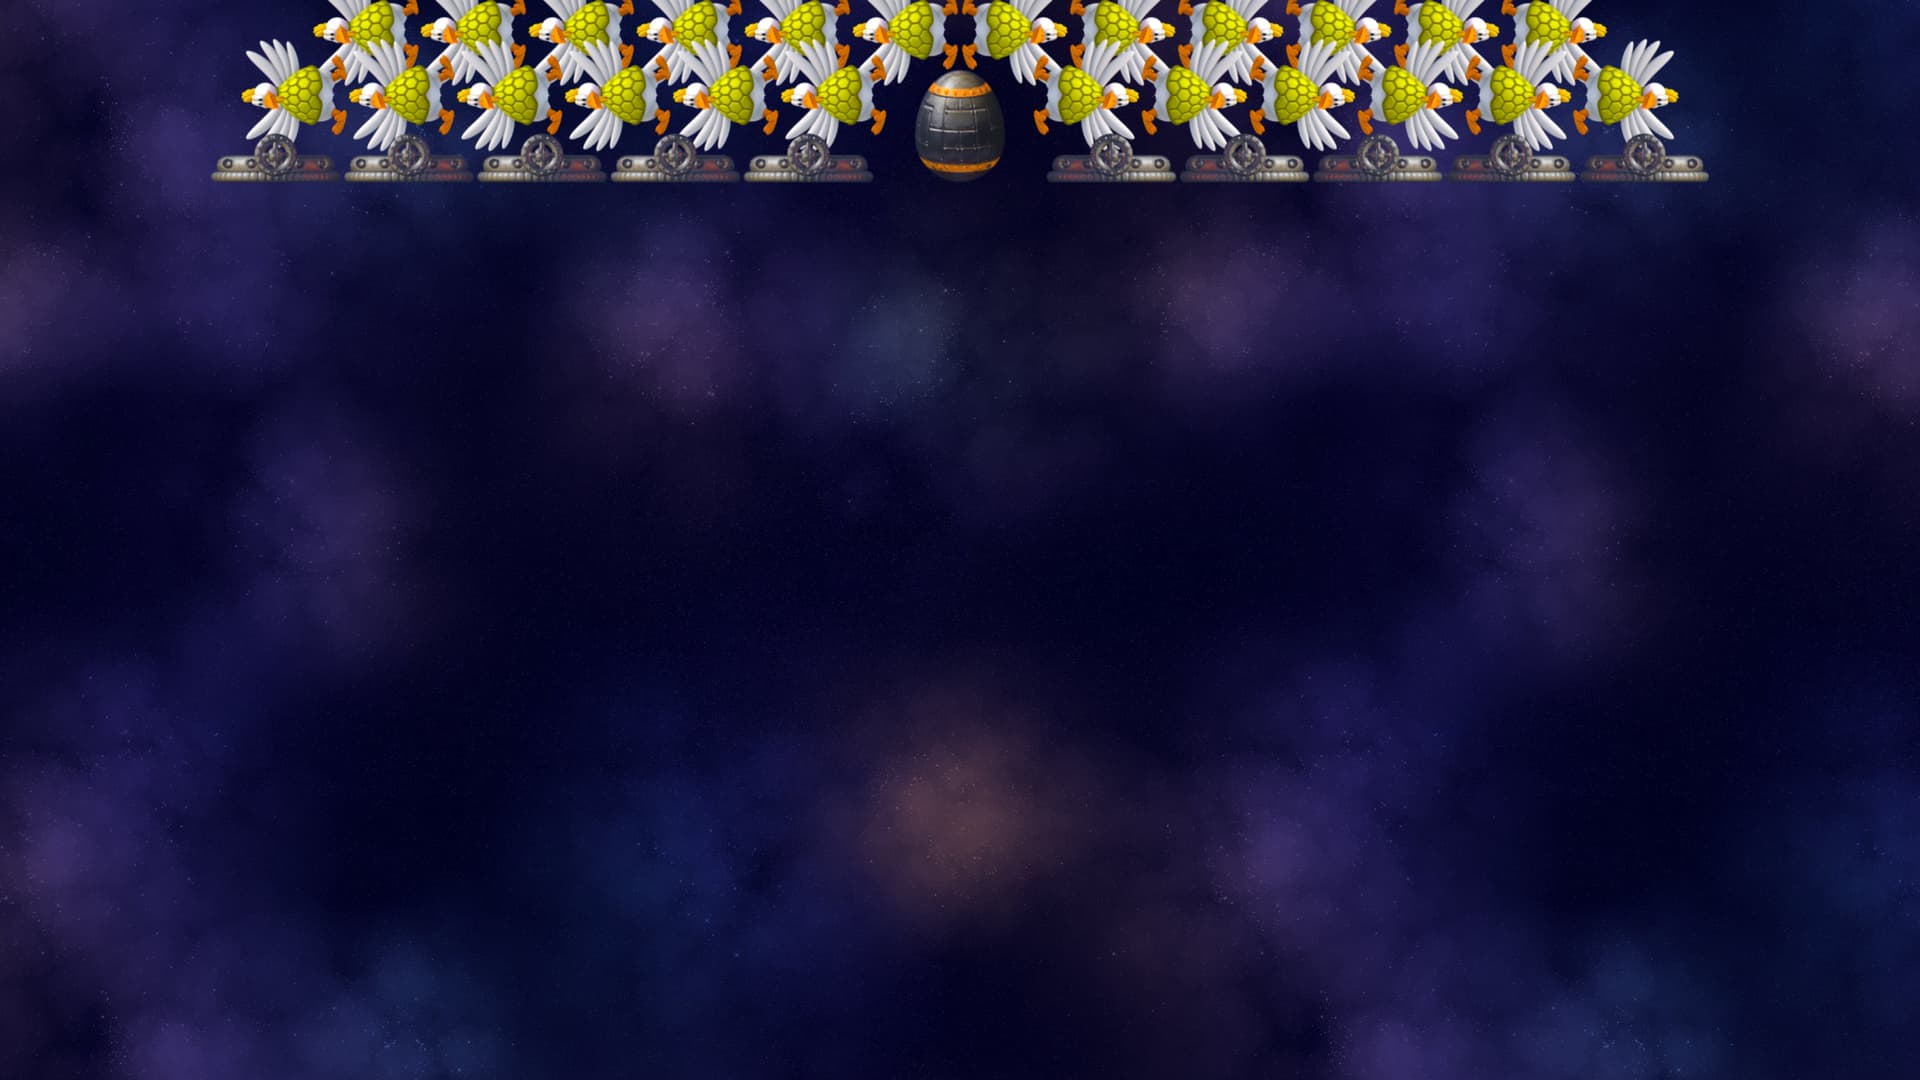
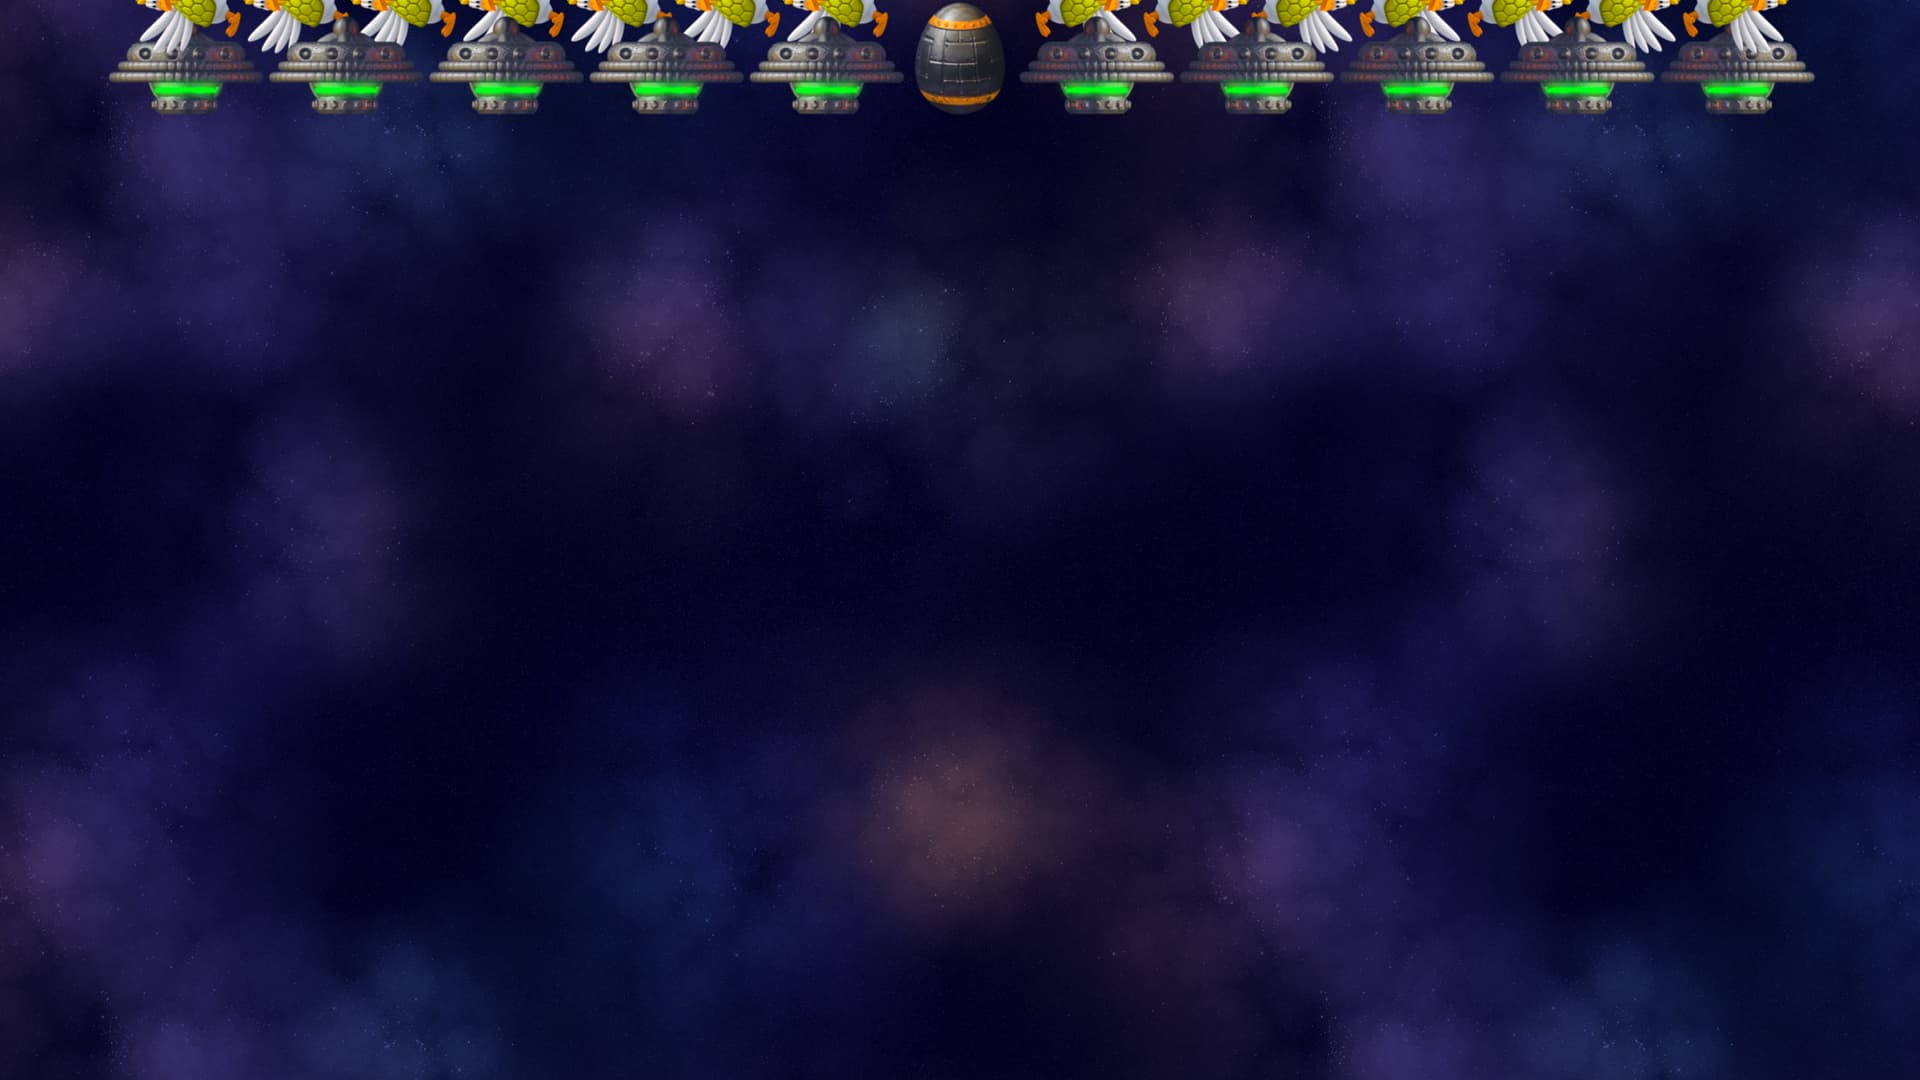
WAVE 3 - Drone Conveyor
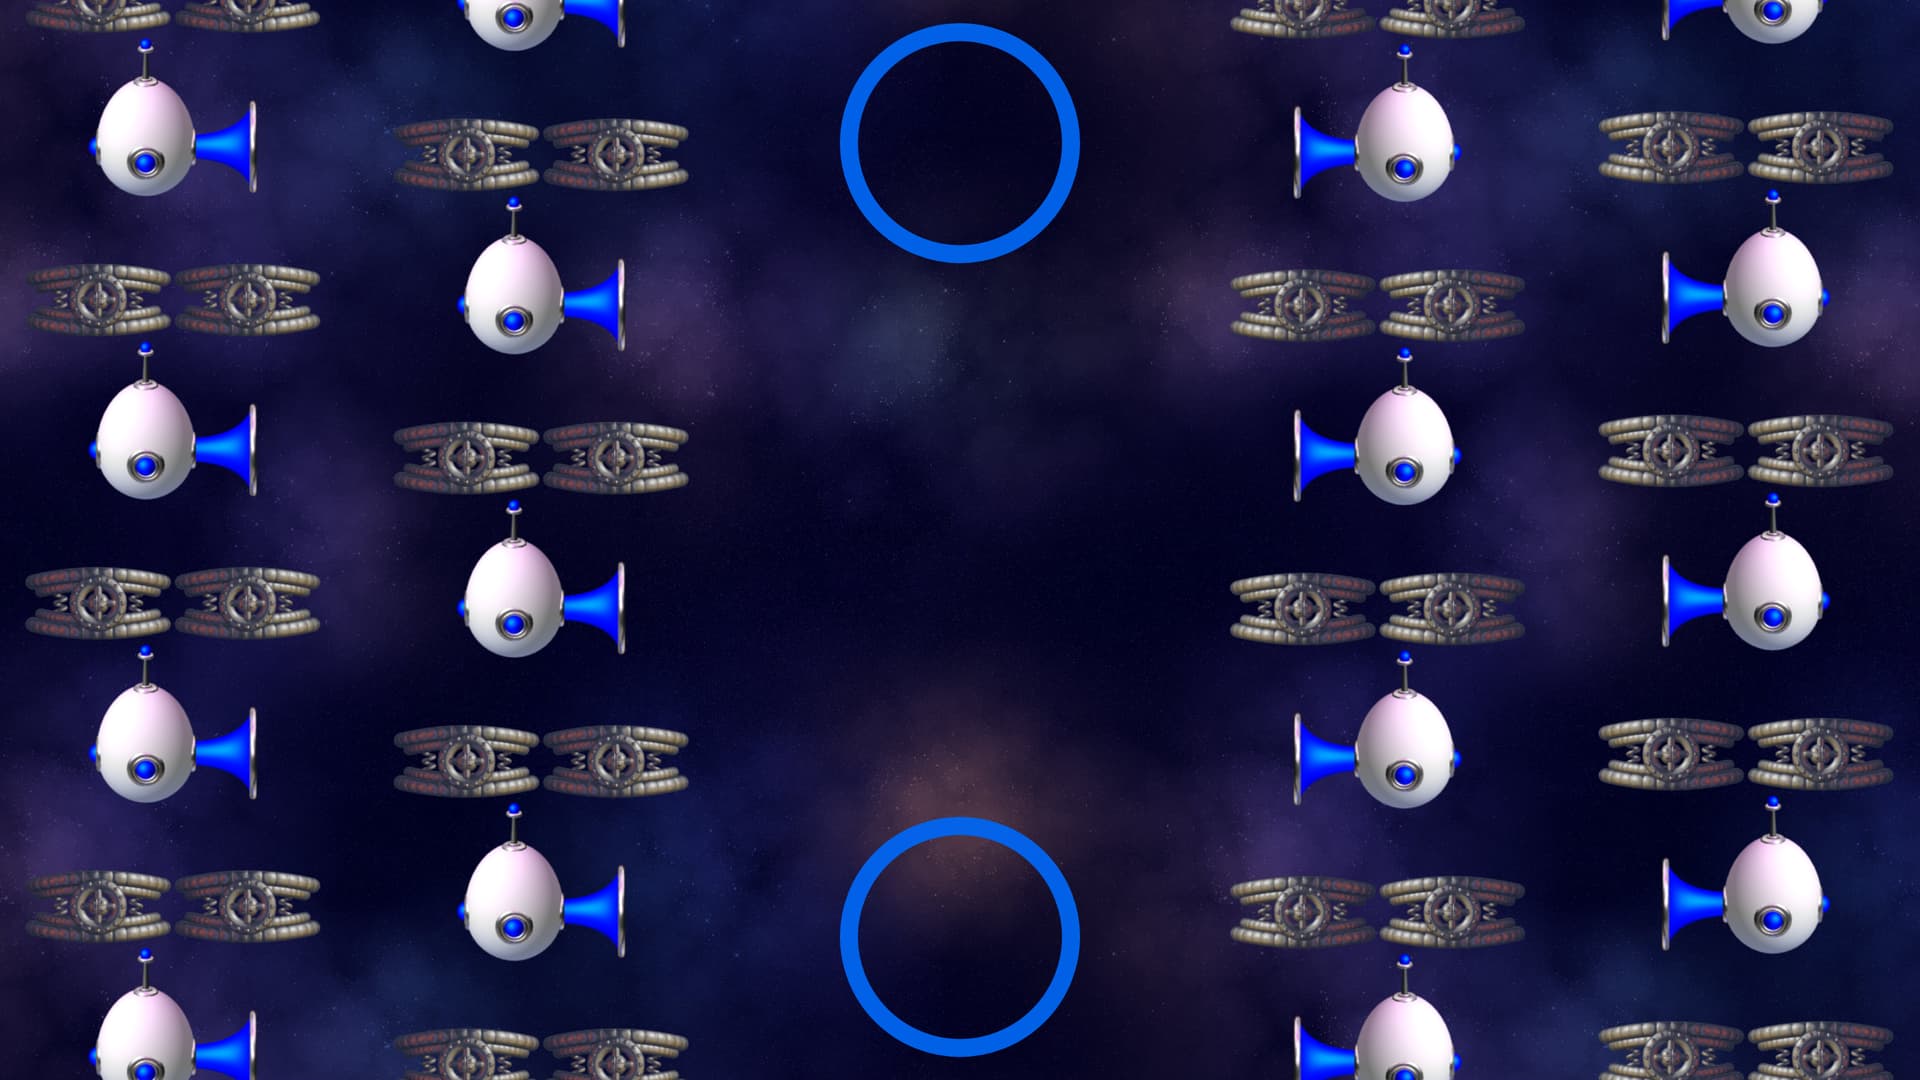
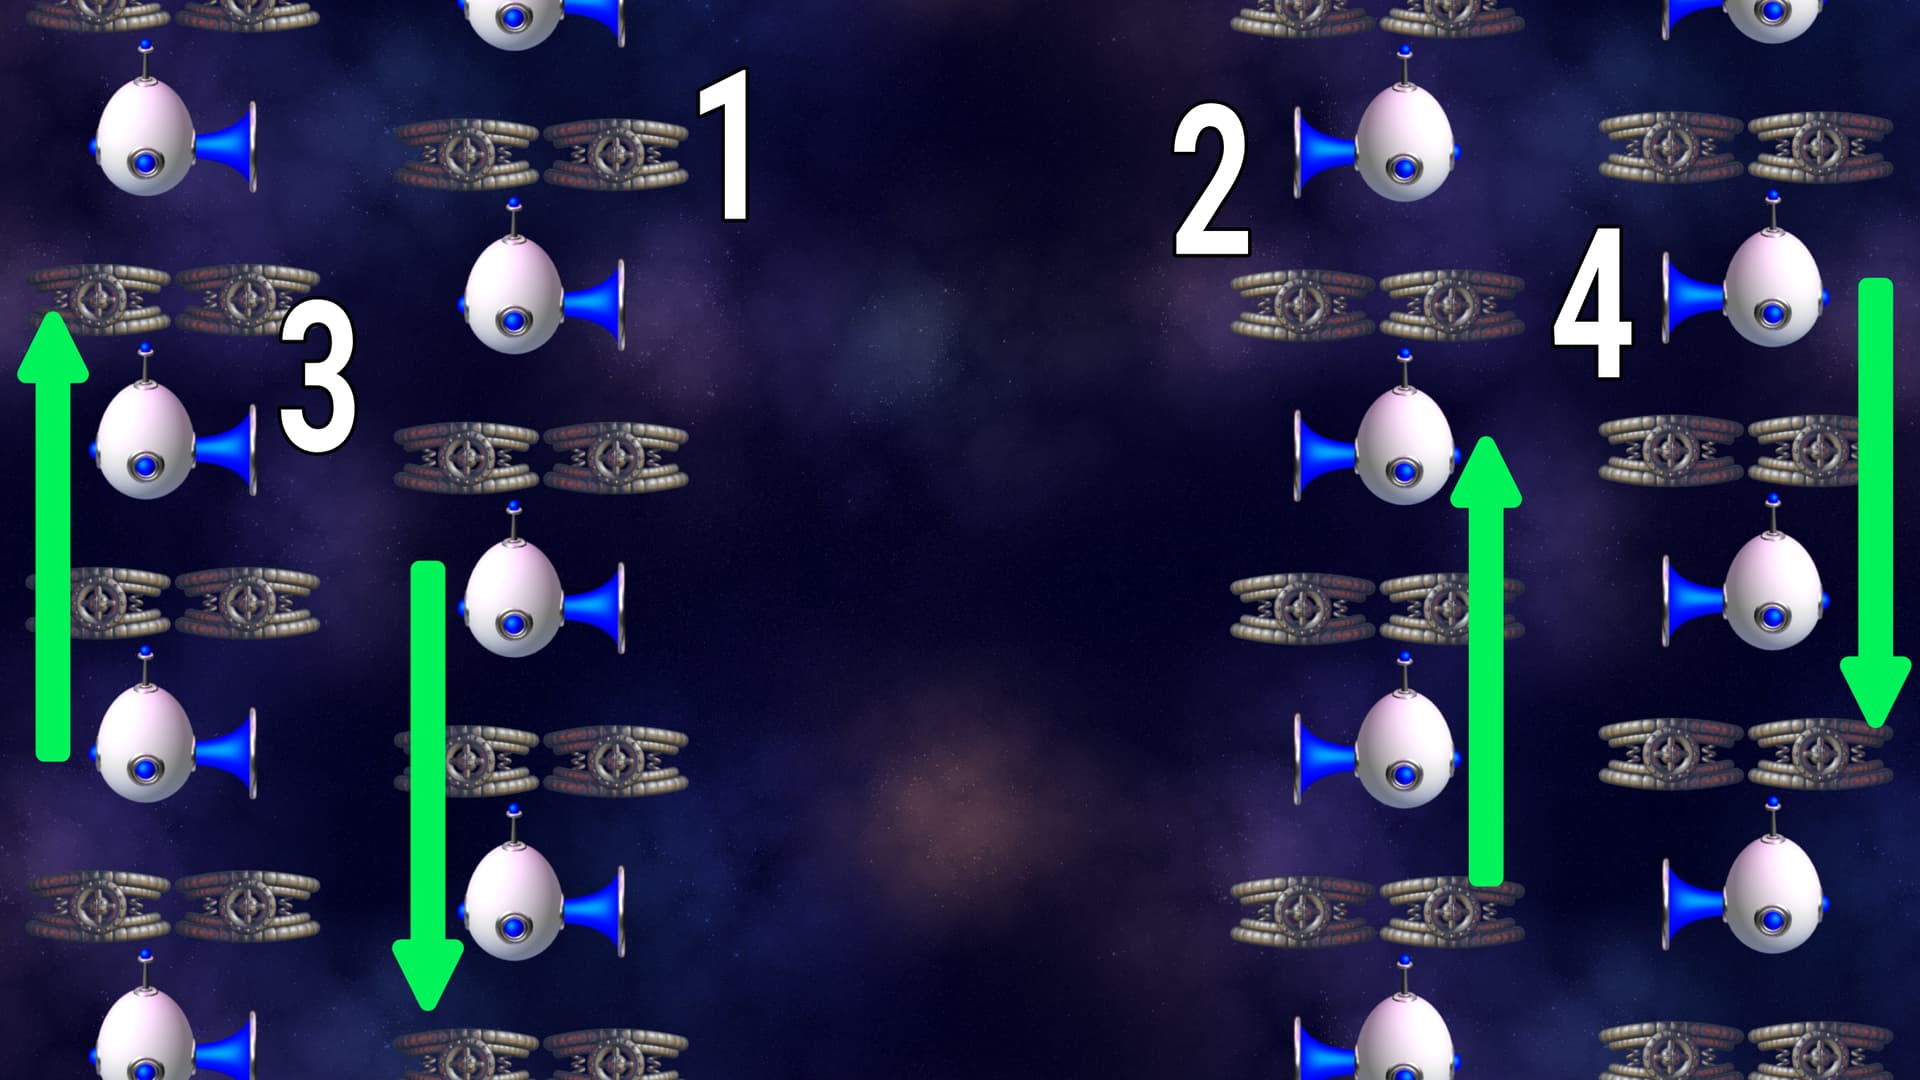
Yay, a new addition to the conveyor belt waves. This wave has egg drones placed between indestructible barriers. Two column of drones are placed on the left and right side of the screen and anomaly zones are placed on the top and bottom side of the screen with one facing to the left and the other facing to the right. Each column of drones fire periodically, let’s say every 5 seconds (with an example order from the 2nd pic above).
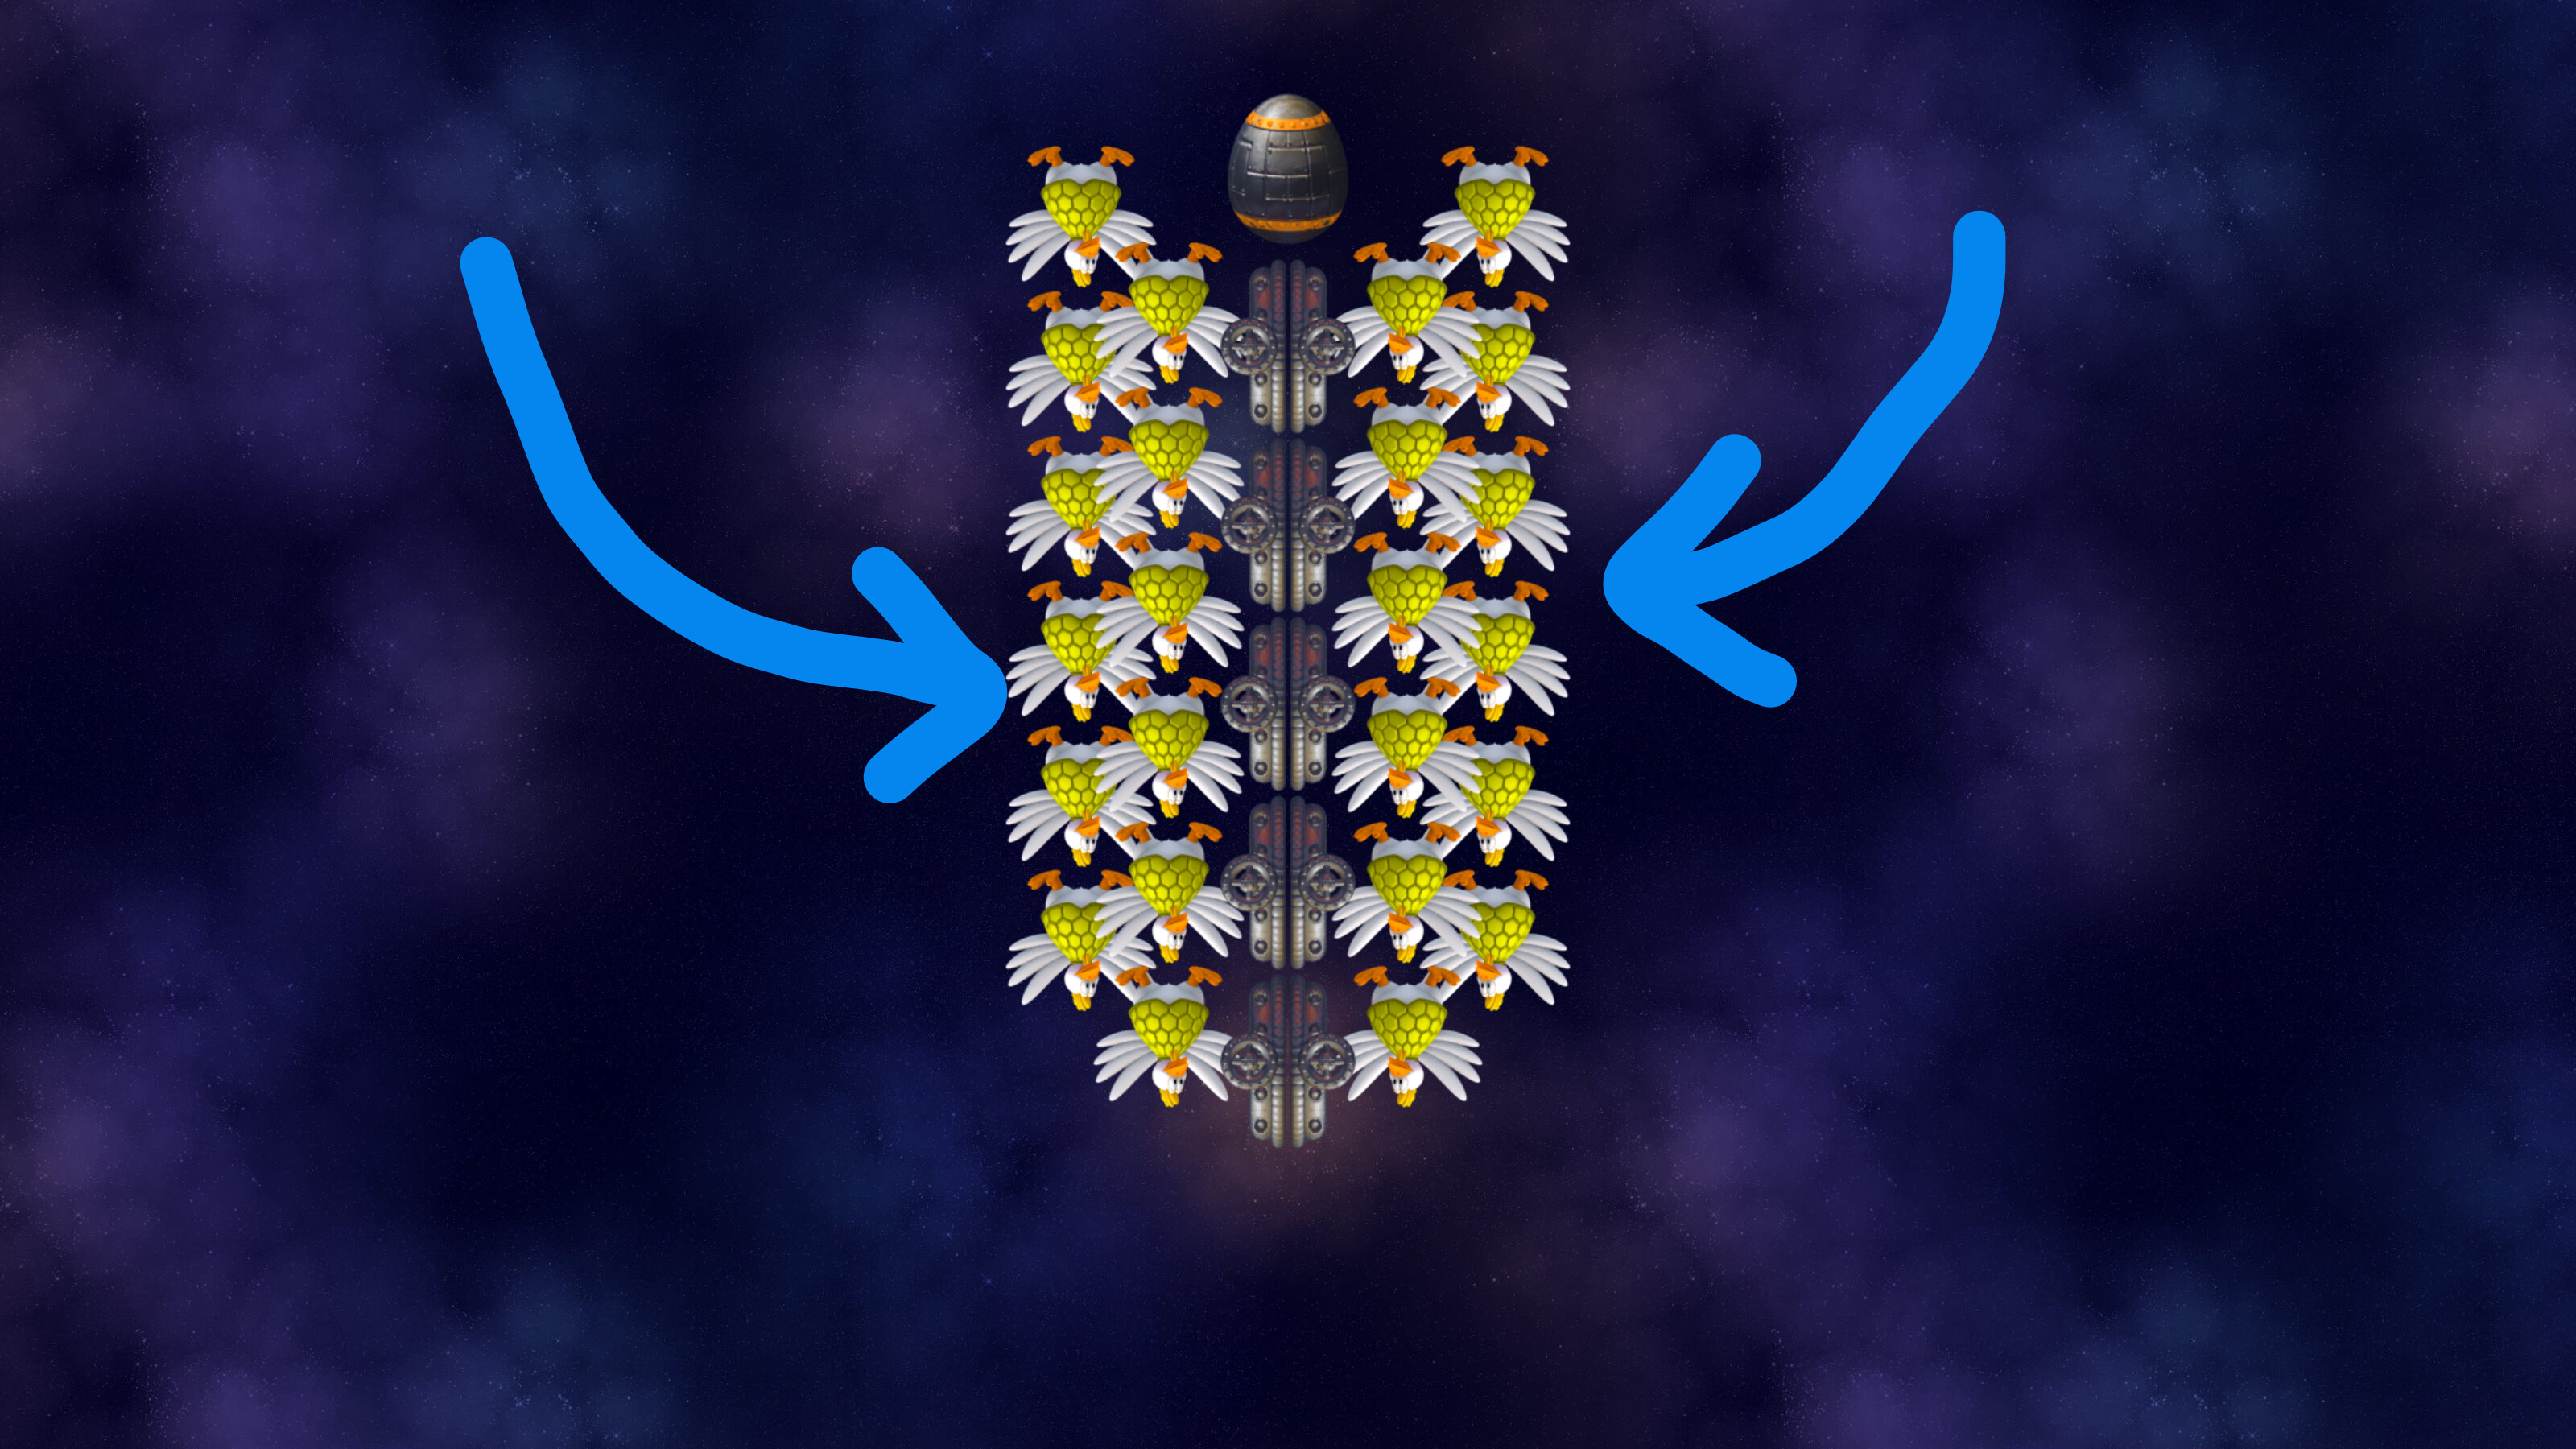
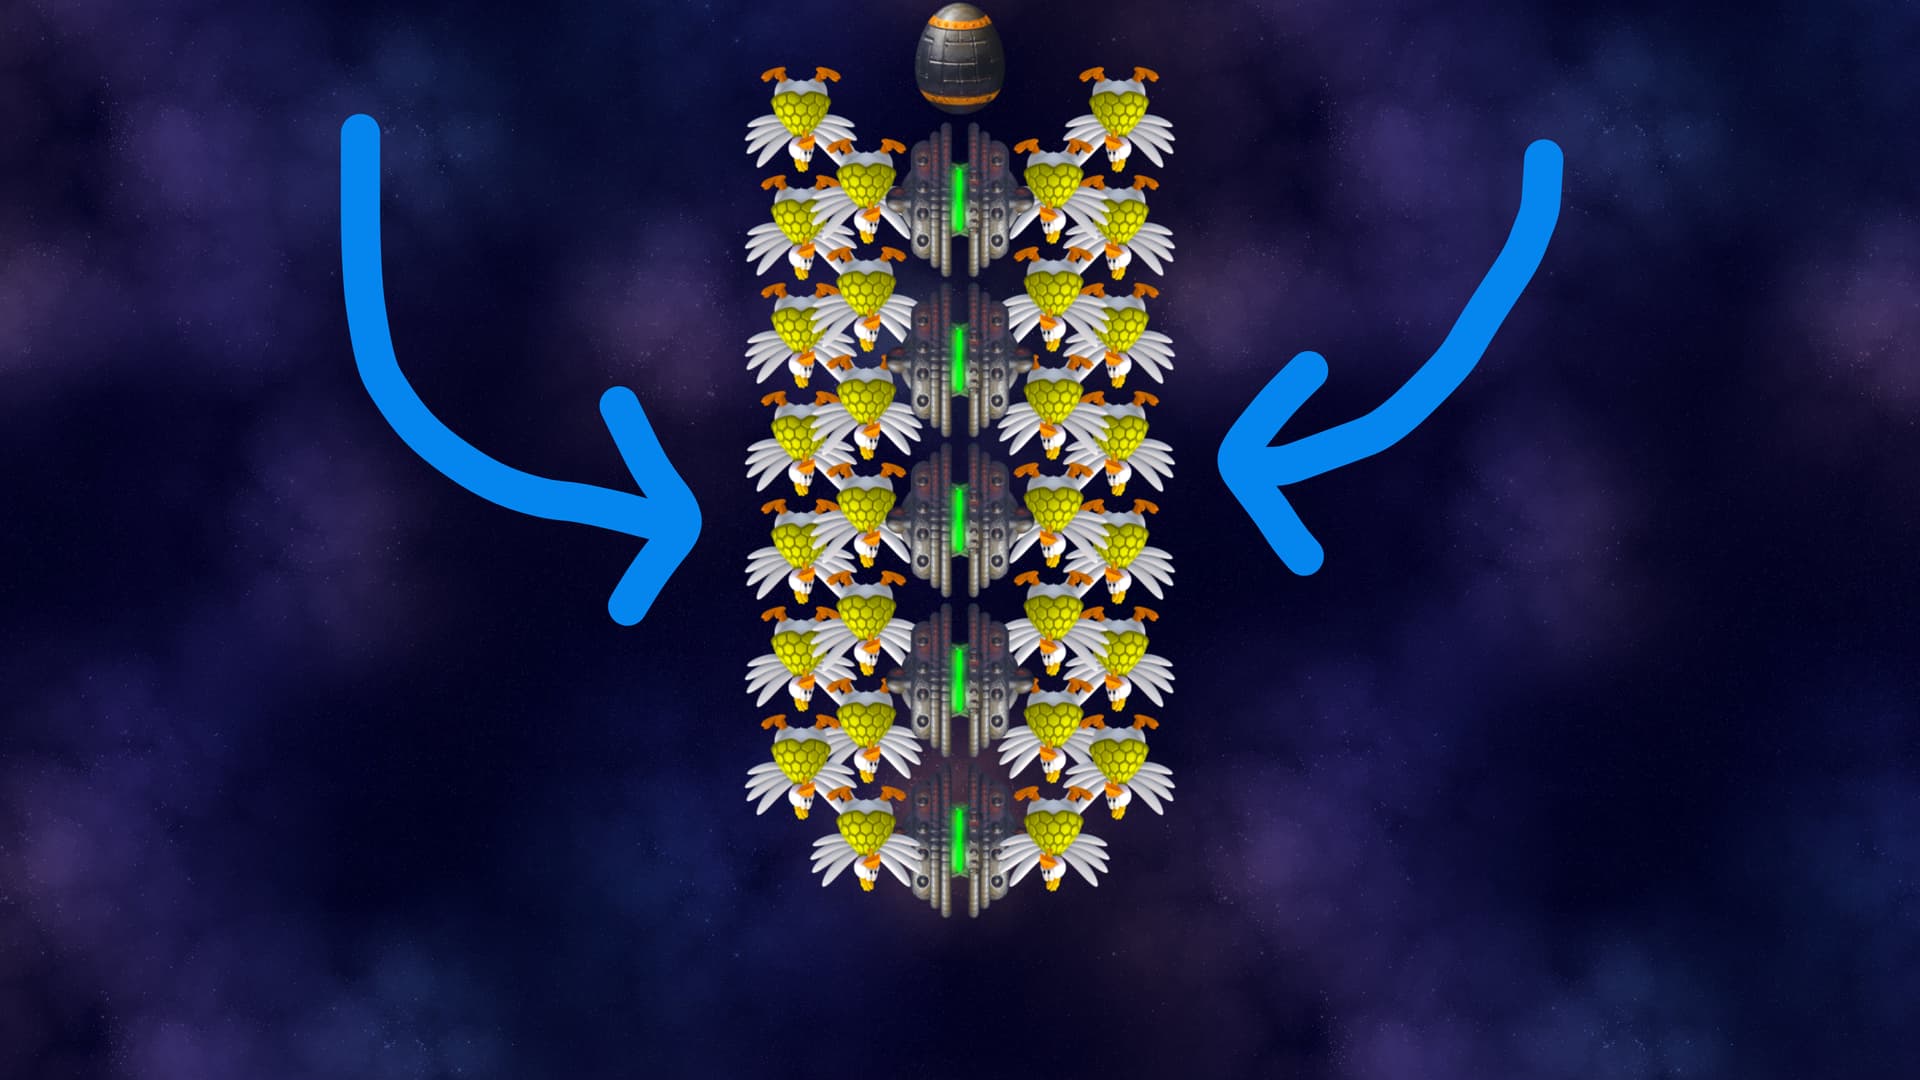
WAVE 4 - Metronome
Windshield wipers wave but each rod are placed on the left and right side of the screen. Enemies are placed on each side of these rods. Anomaly zones are also placed on the edges of the screen facing to the screen’s lateral center.
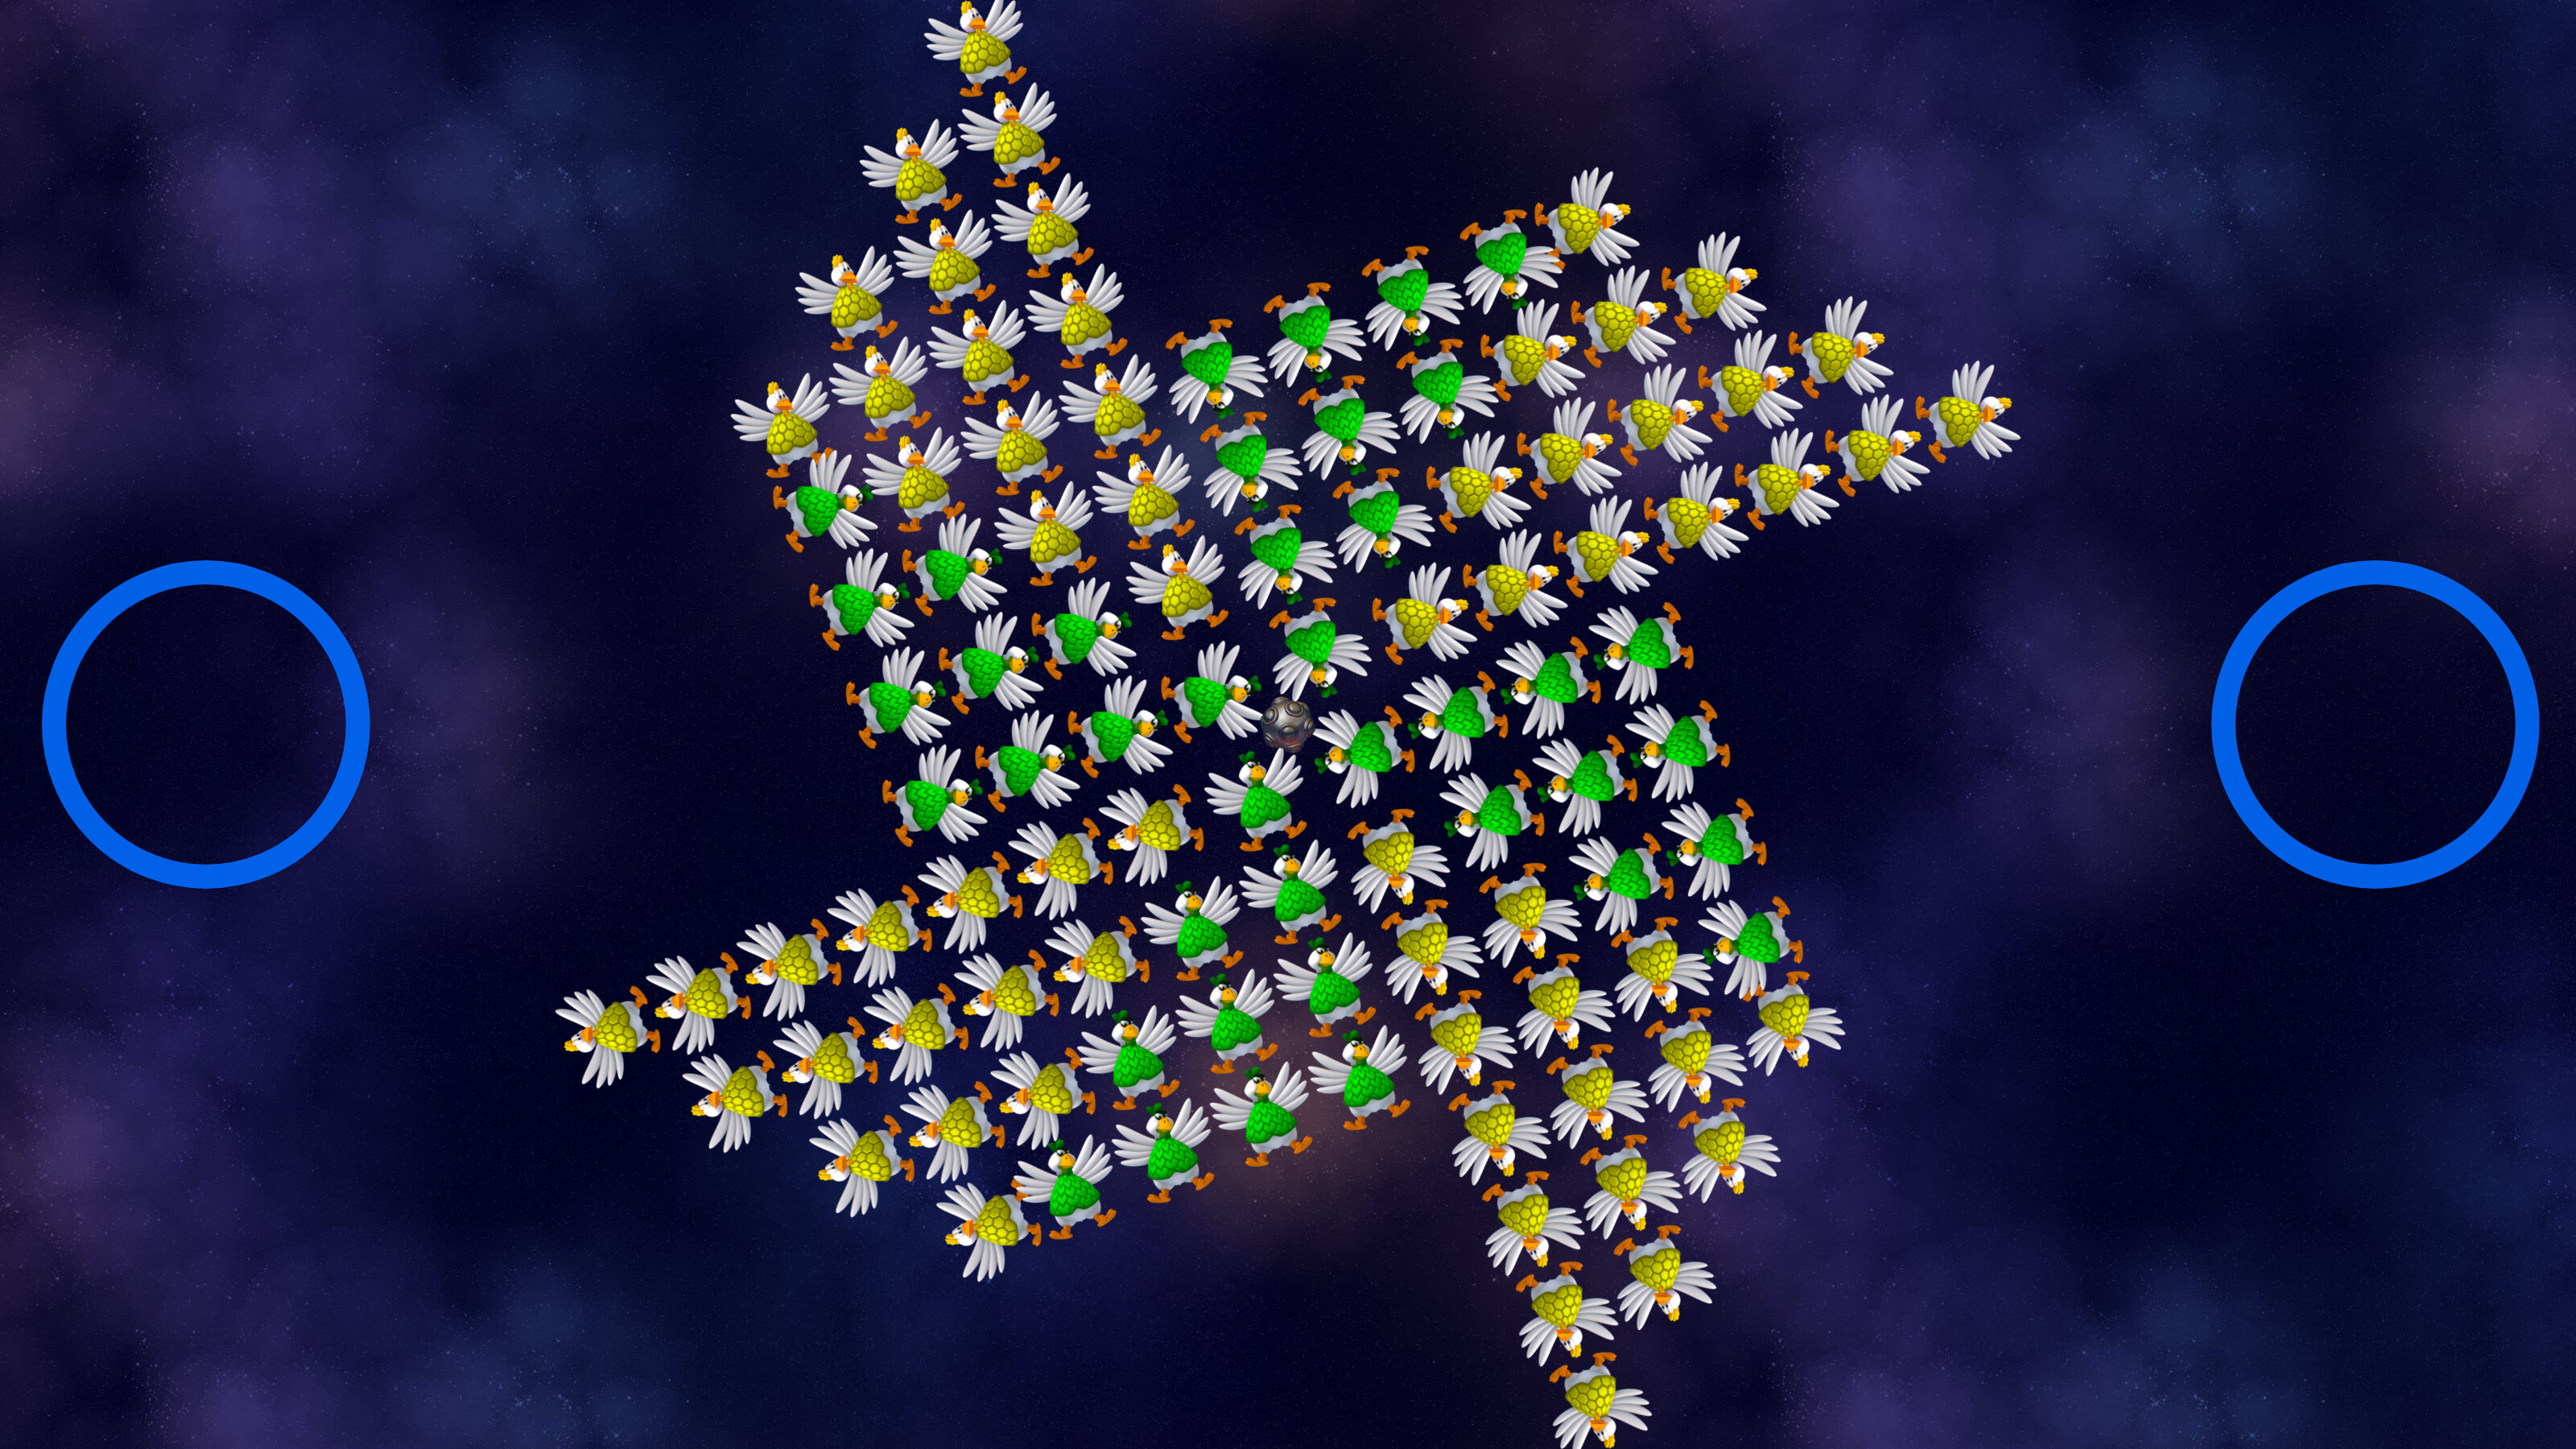
WAVE 5 - Geocentrism
Formation of enemies are placed at the center of the screen spawned by an interdimensional portal and a star is revolving around it. This star will only make your ship overheat instantly similar to the Dyson Sphere wave.
WAVE 6 - Sharpcutter / Sharpshooter
Wave that works like a pair of scissors when cutting through. The indestructible barriers represent the blade itself with enemies hiding beneath it. You’ll have to wait for the blade to be in the “closed” position to be able to attack the vulnerable enemies.
Pain version of the above wave. Barriers are now replaced with indestructible lv.4 barriers (just don’t mind the sprite used above). The position of the wave is placed a bit higher as well.
WAVE 7 - Egg Tray
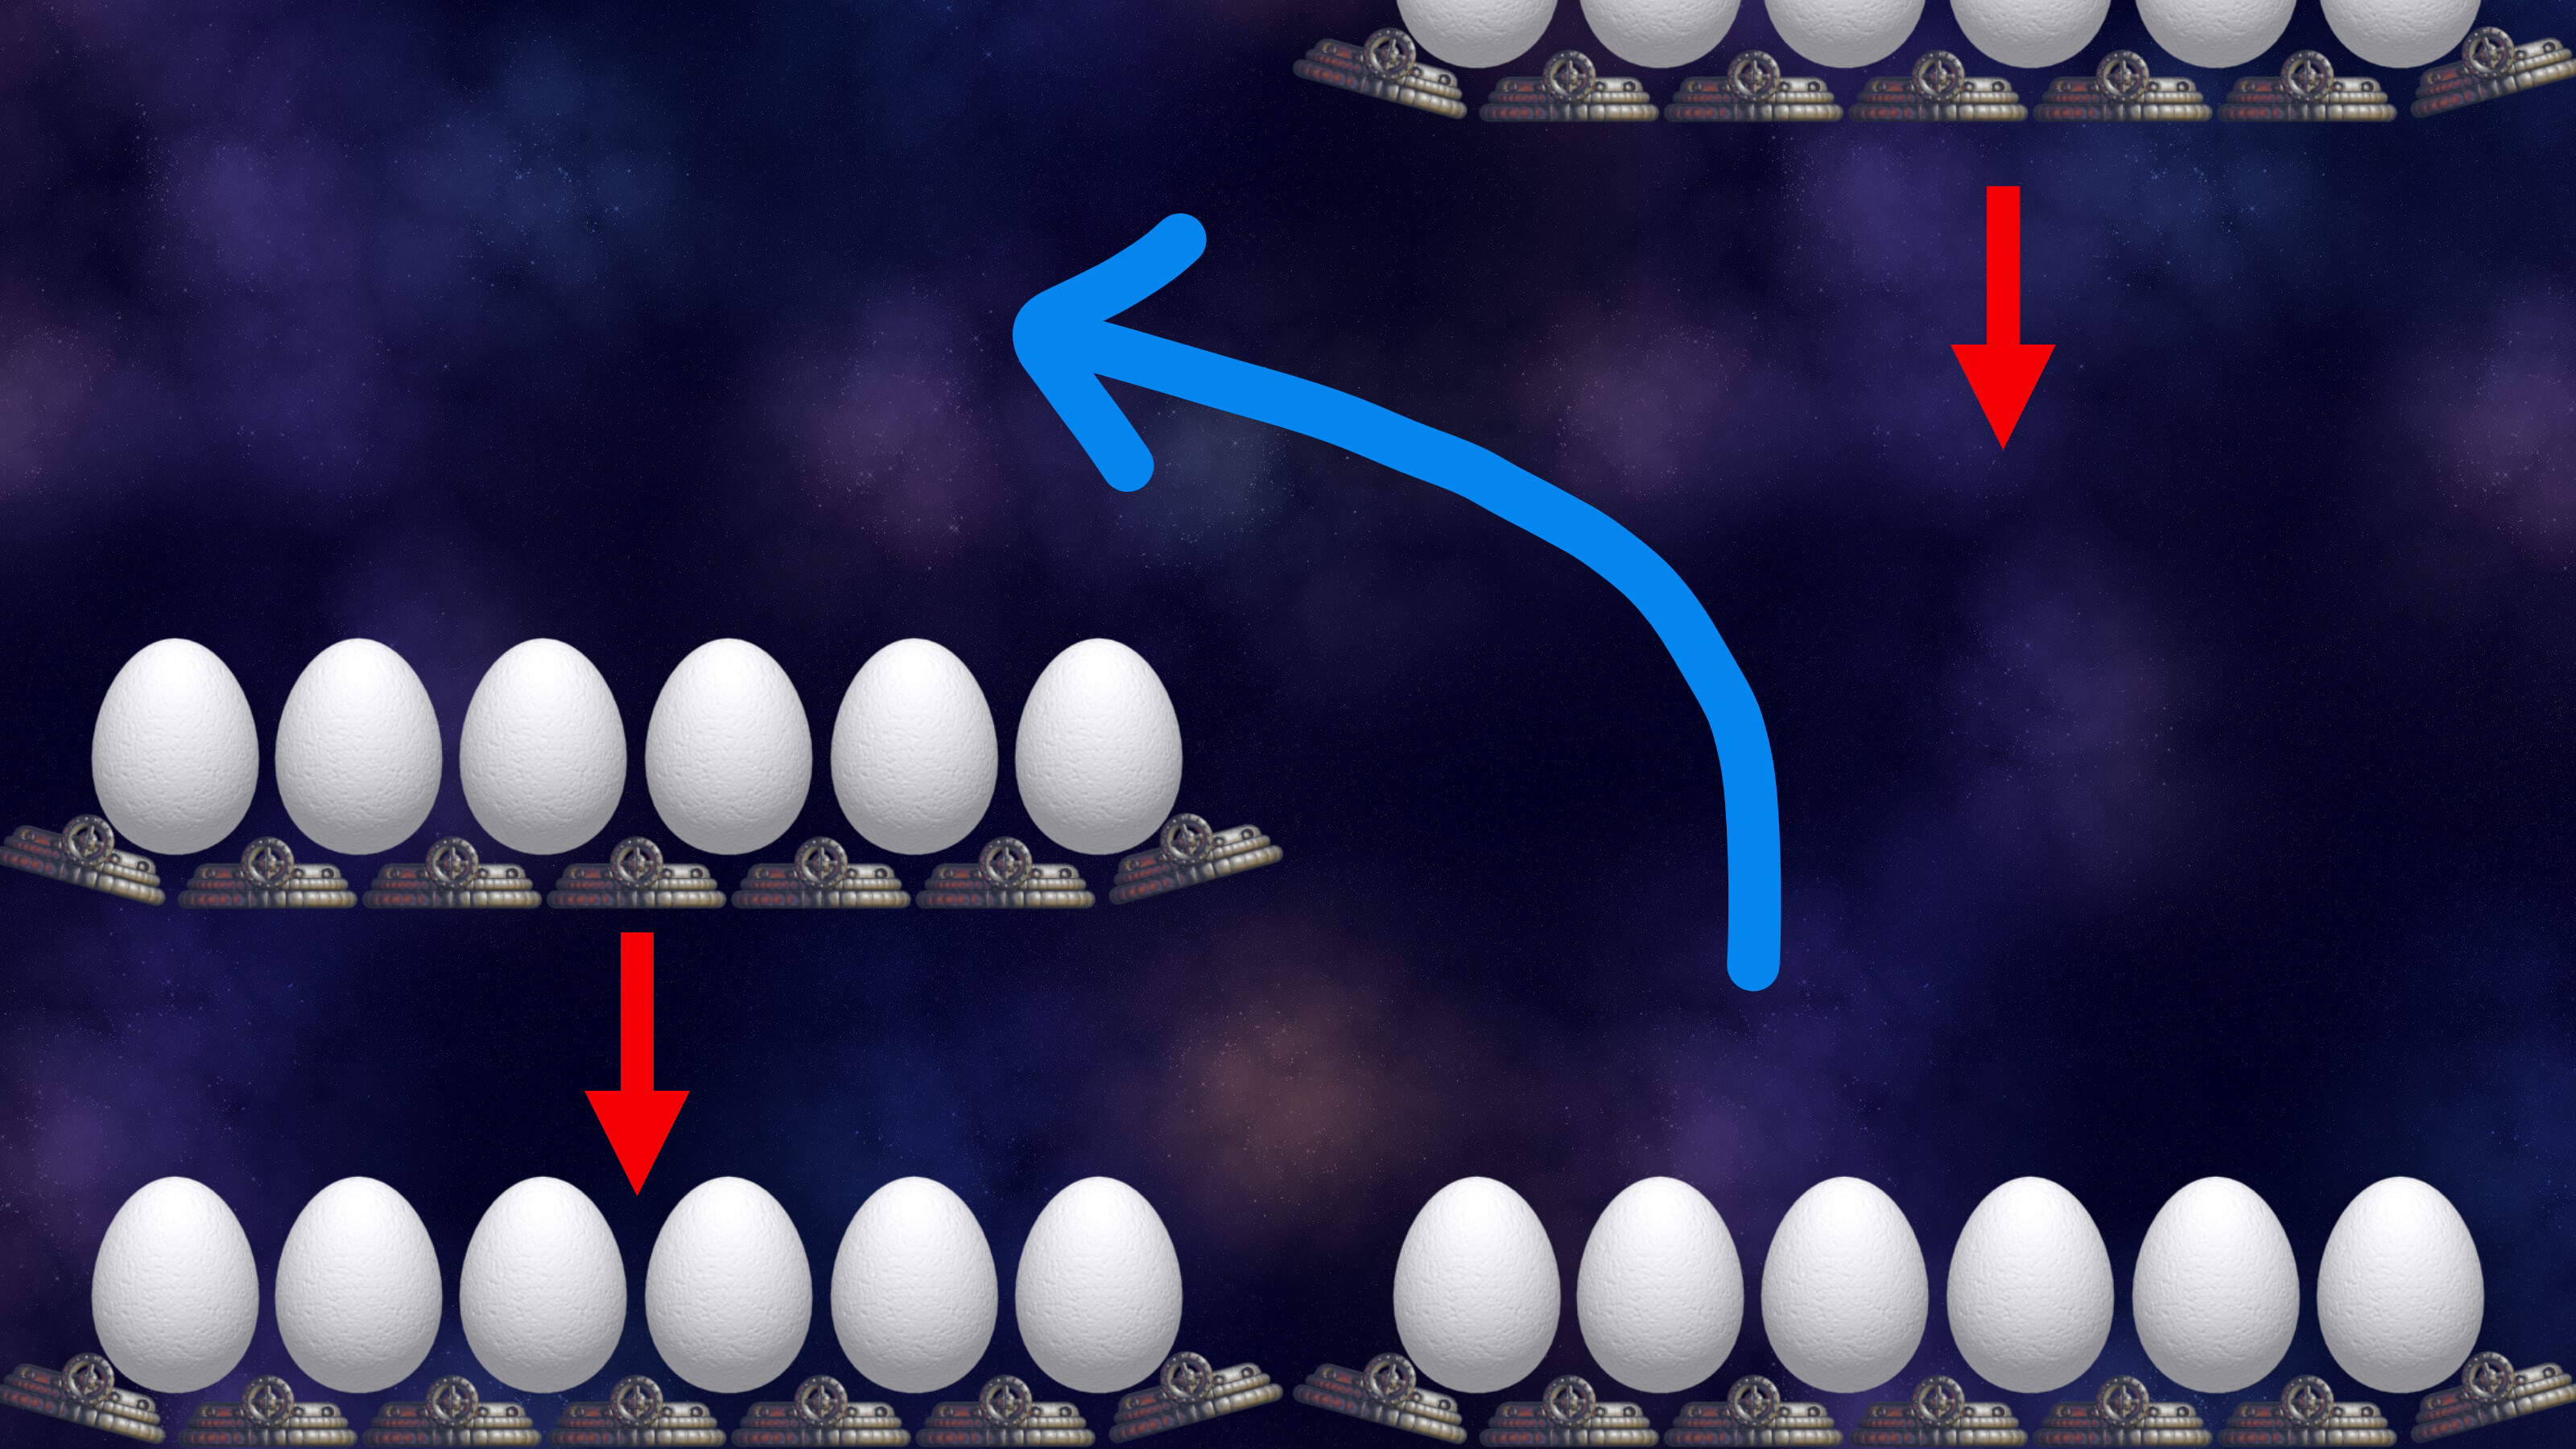
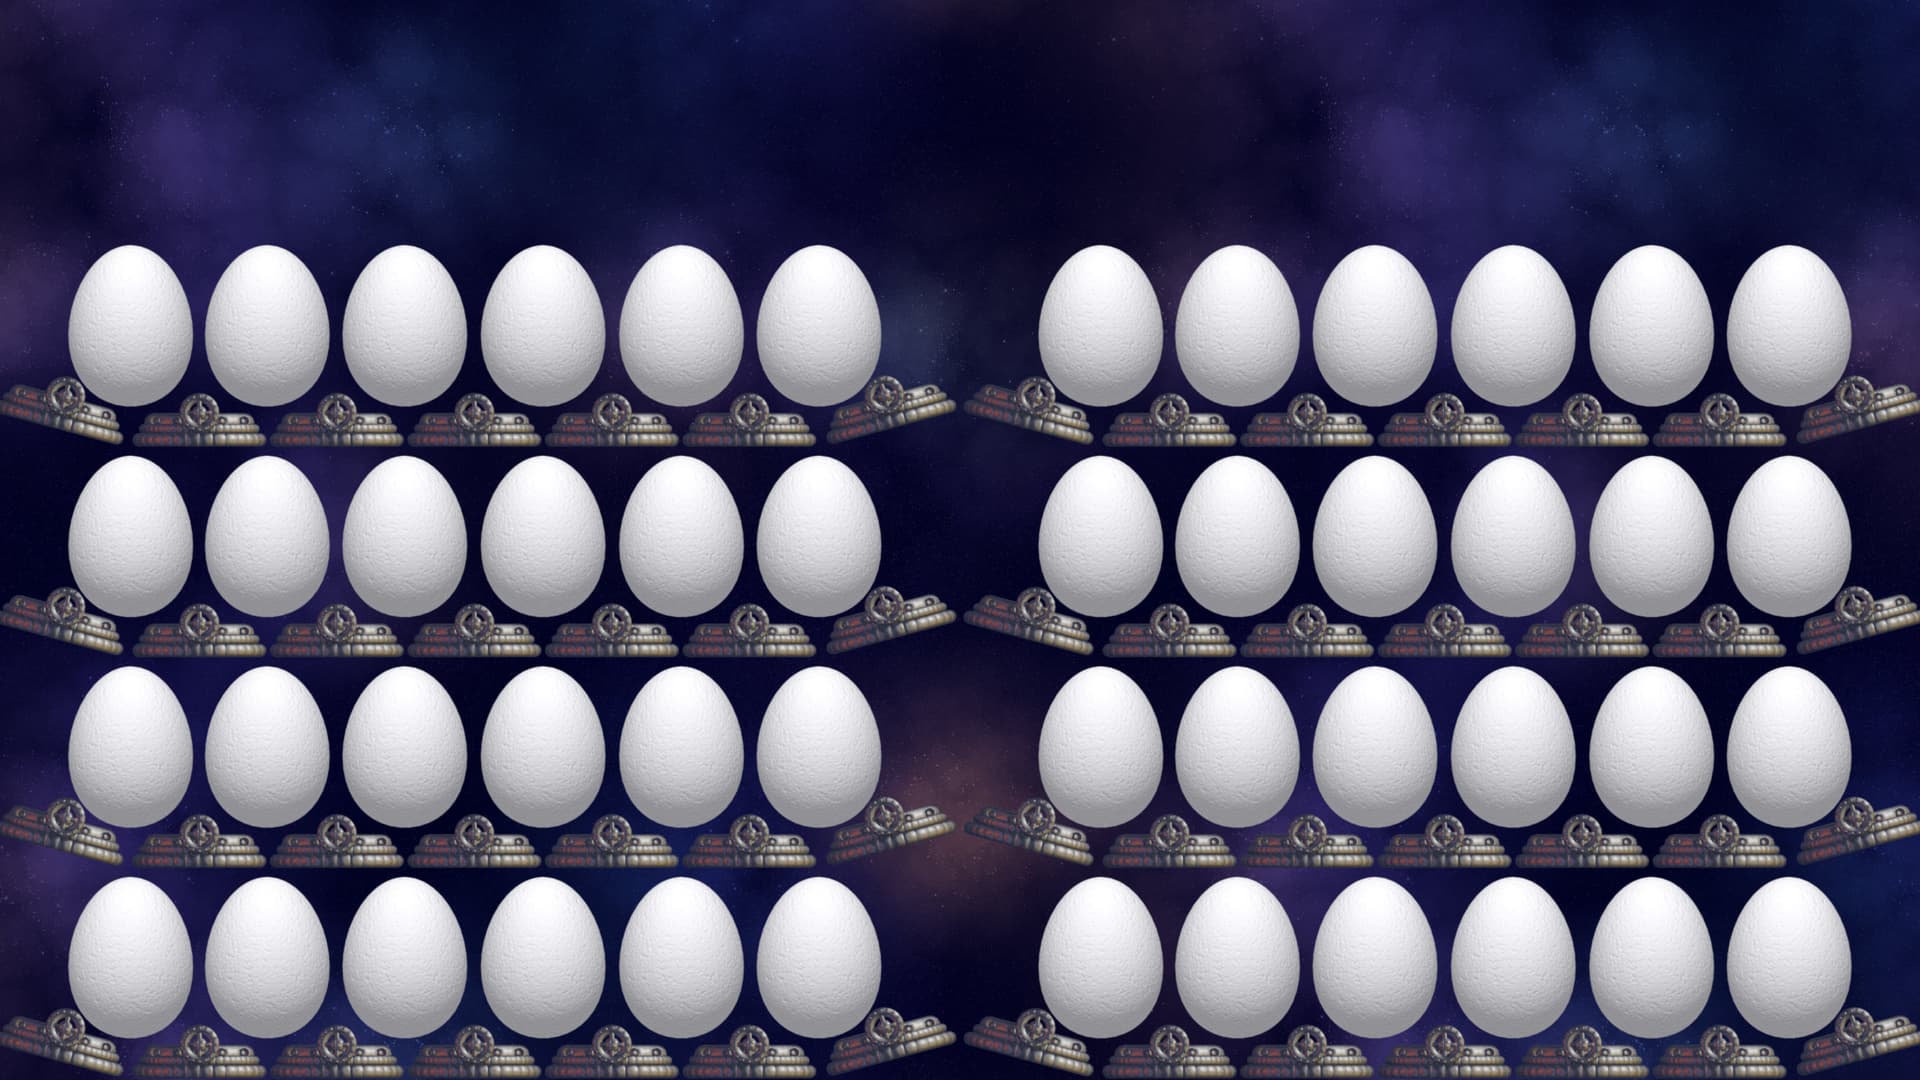
Your ship will face downwards on this wave. Afterwards, egg trays will start falling to the left/right side of the screen one by one and alternately. You’ll need weave yourself left/right to avoid being crushed by these egg tray.
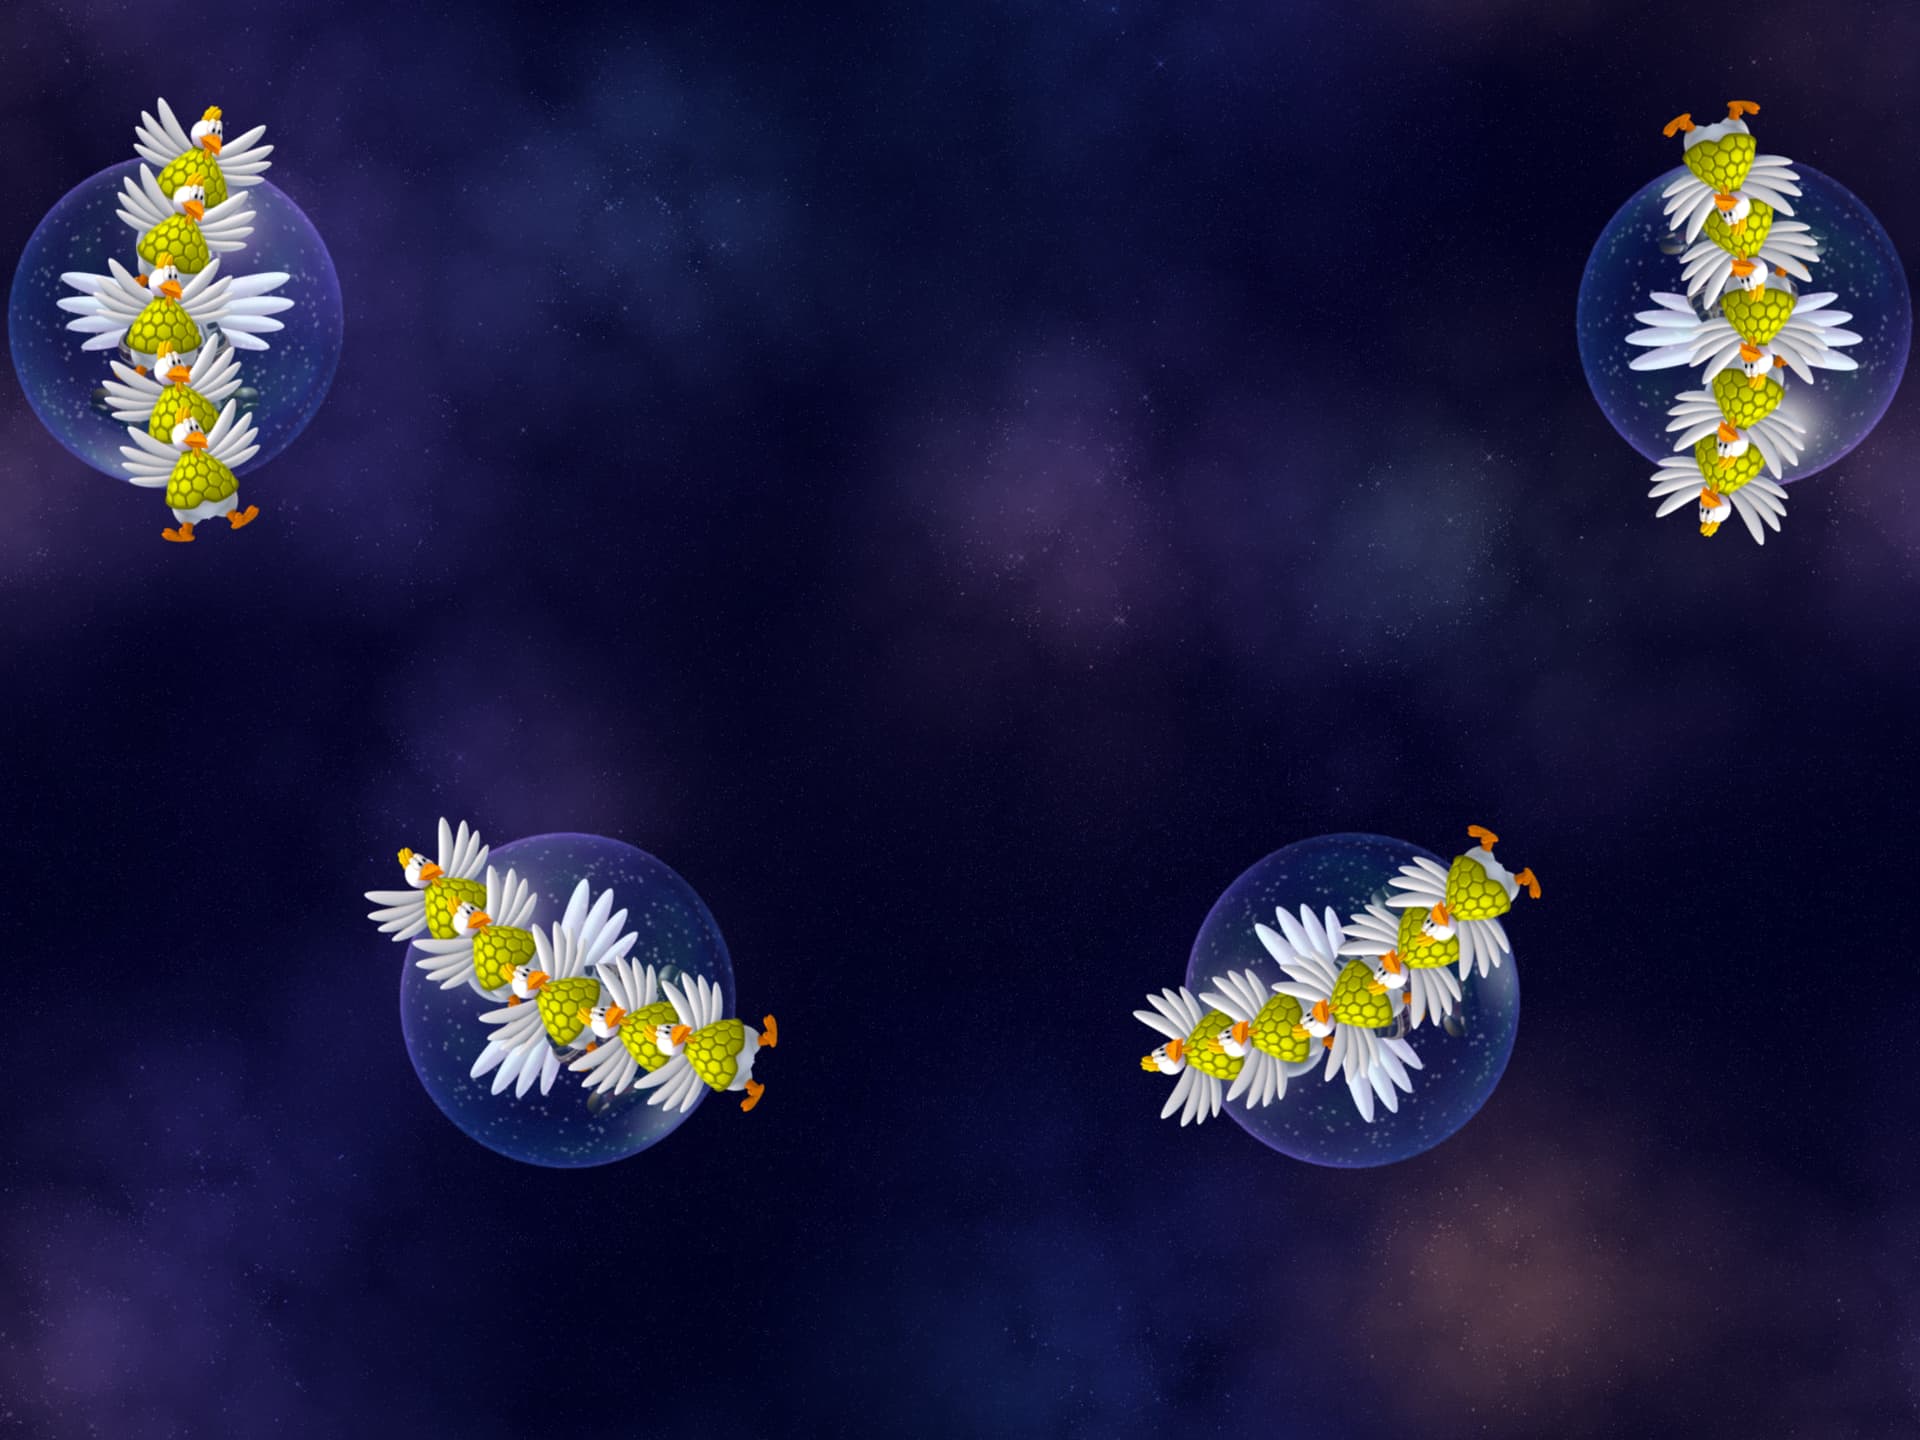
WAVE 8 - Chicken Snowflake
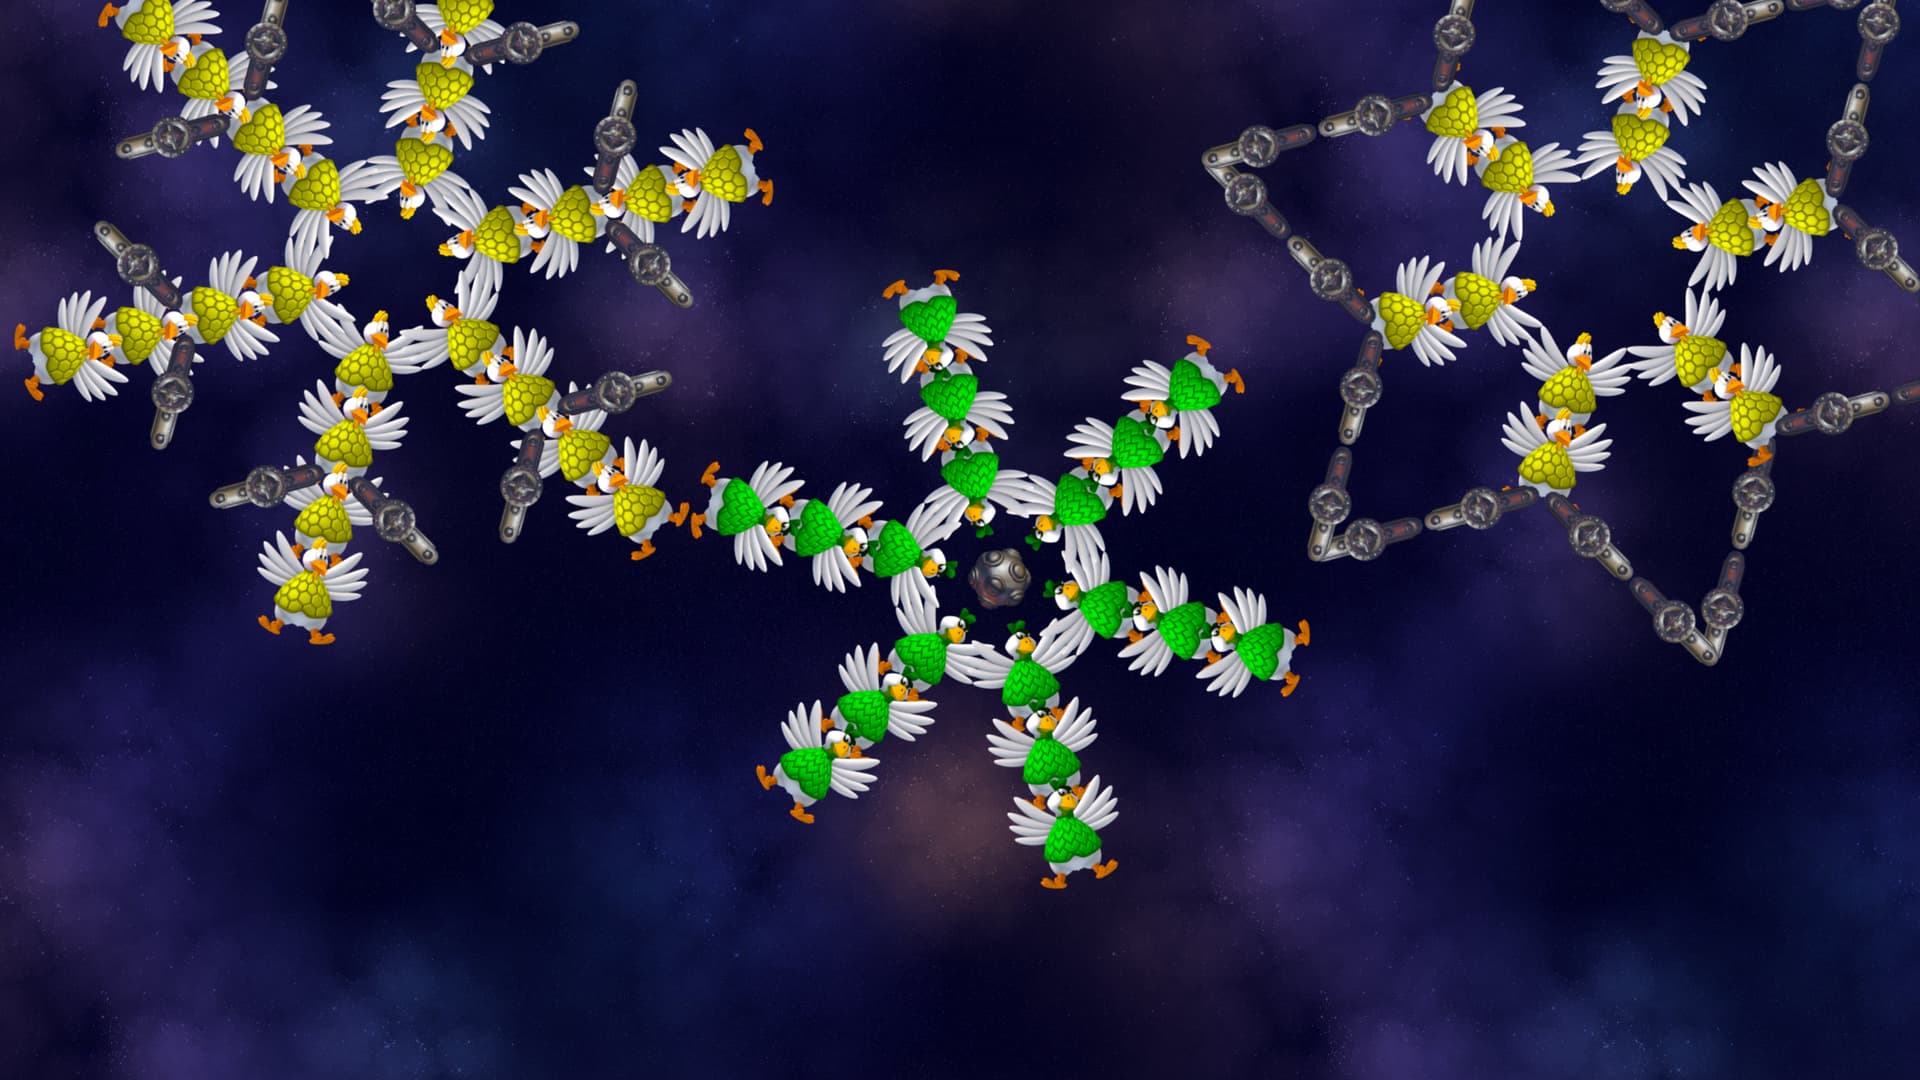
Just chickens (and barriers) forming snowflakes, with various shapes and sizes. Sample patterns above.
WAVE 9 - Hide Inside?
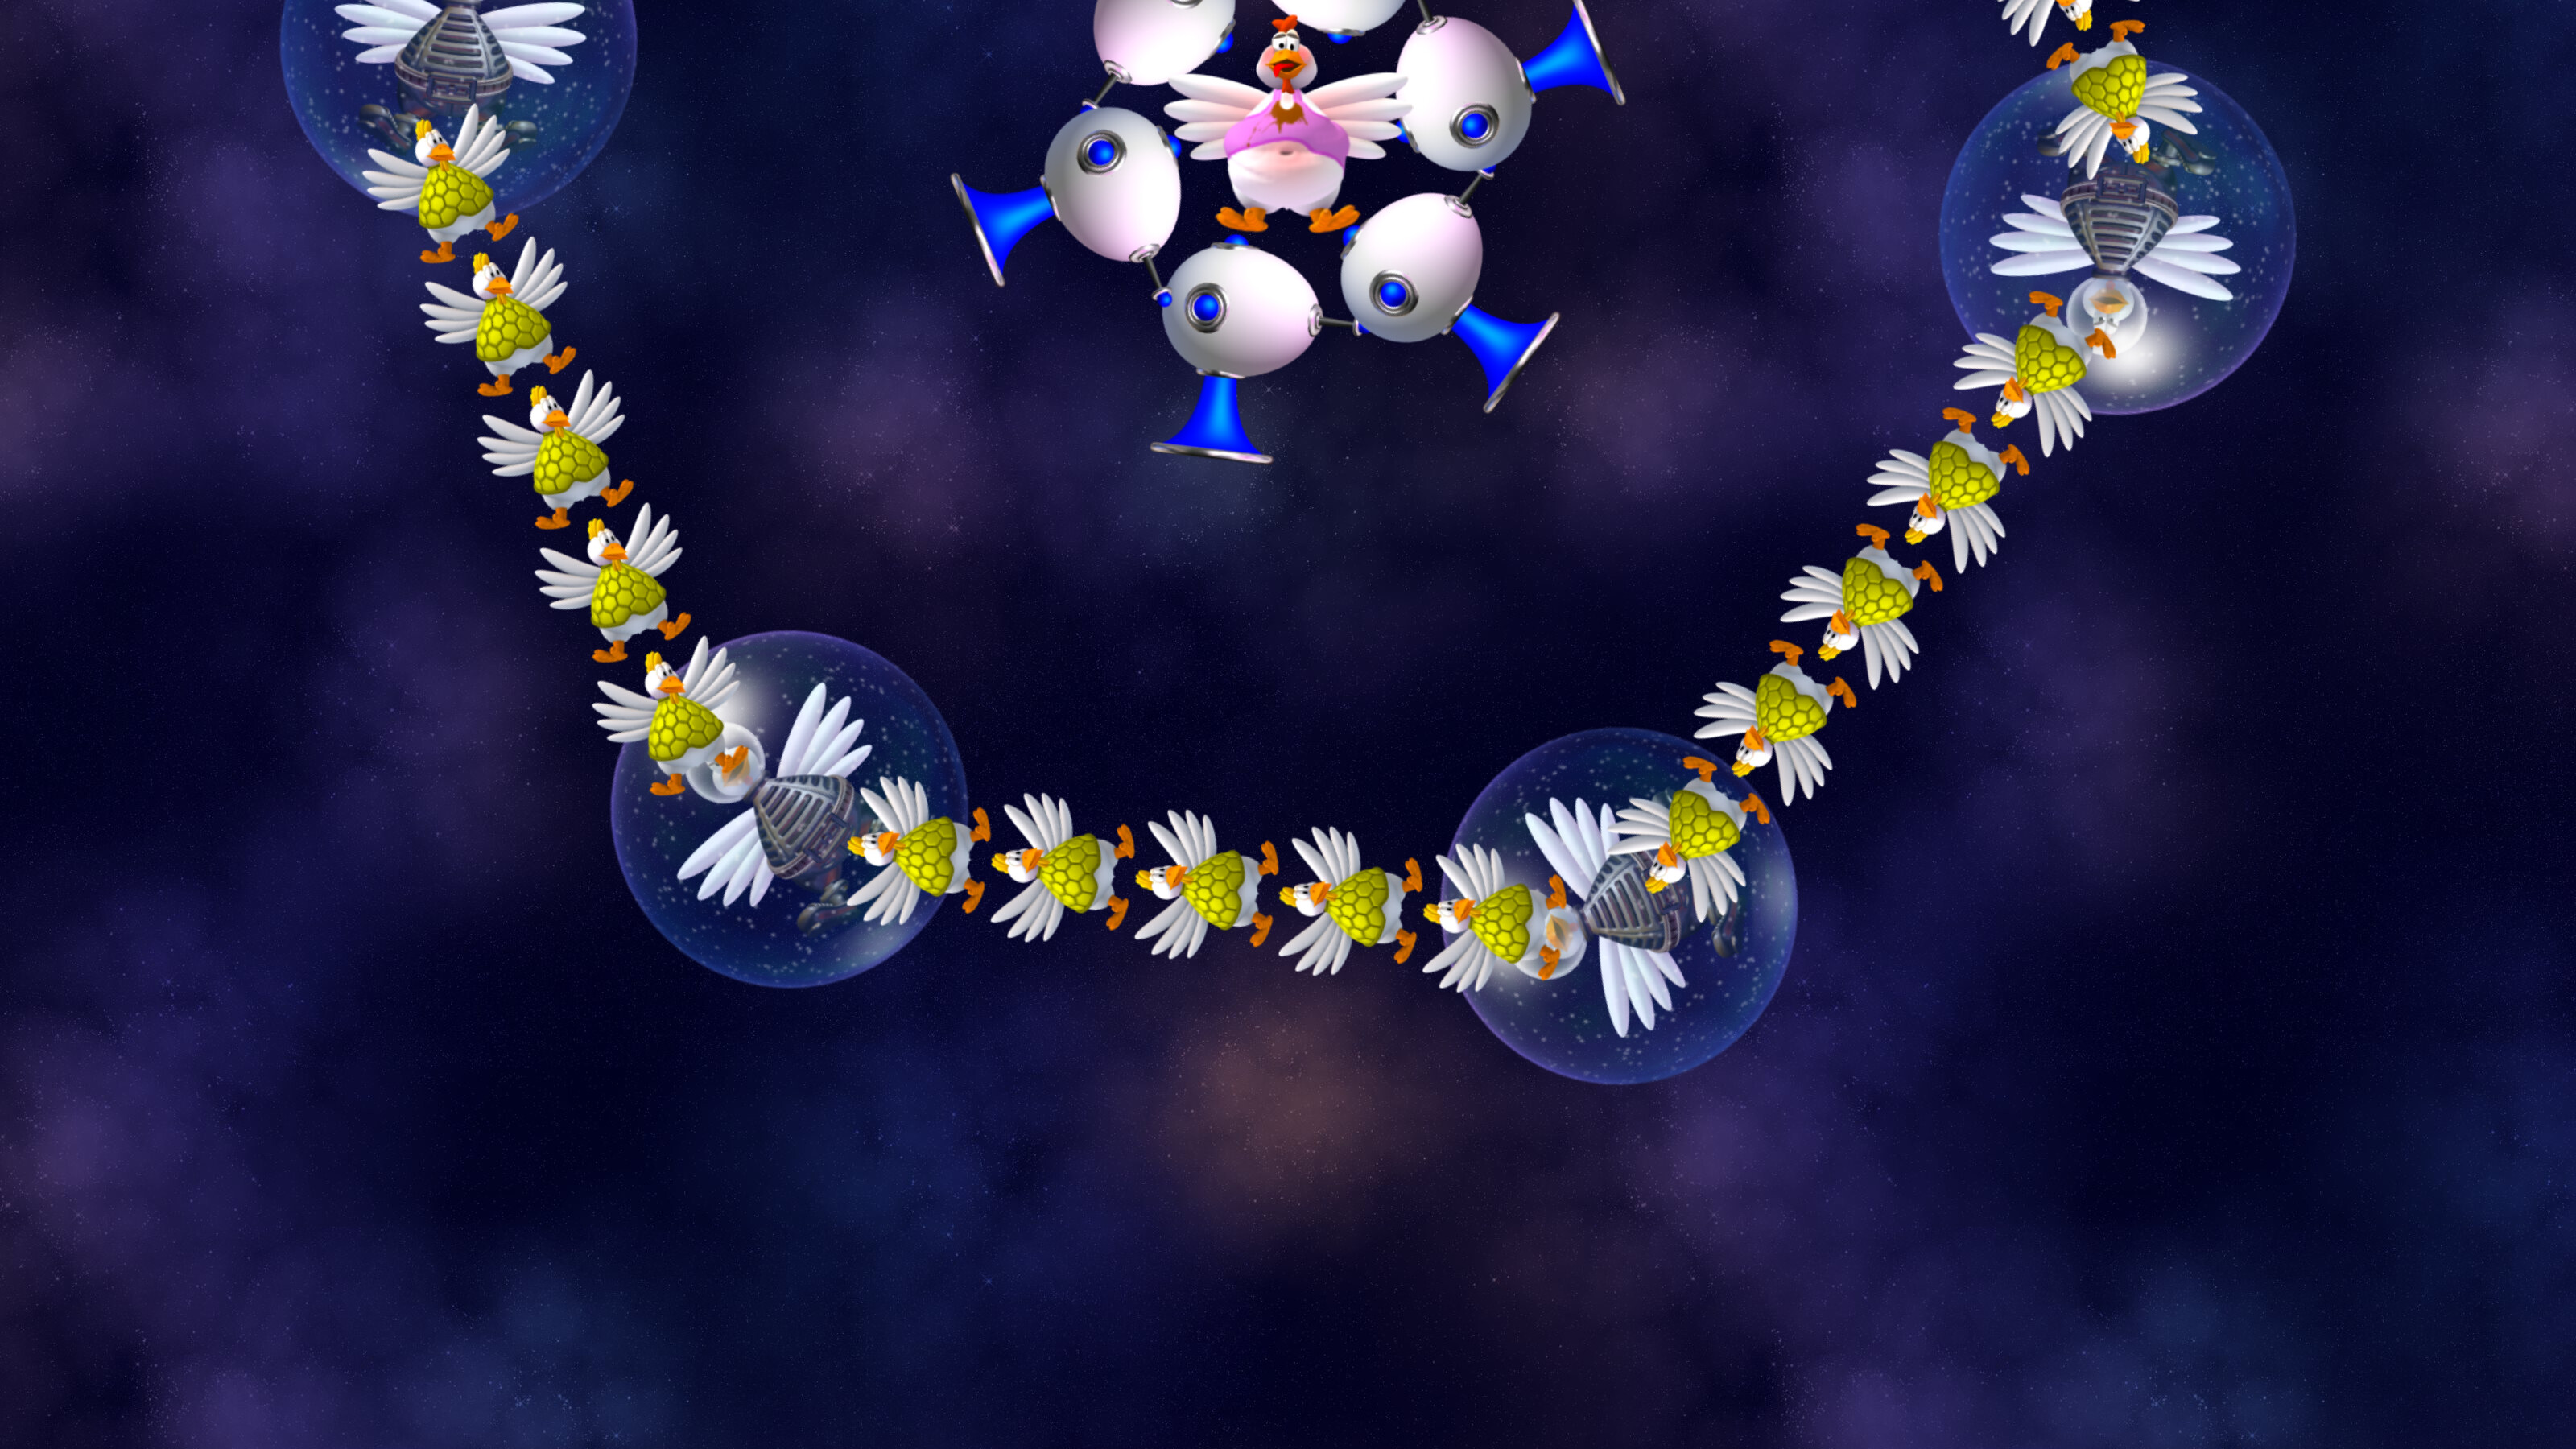
This wave compose of elite enemies protected by bubble barrier with chicken passing through them. There’s also an elite enemy at the center surrounded by egg drones. The objective of this wave is to kill the enemy at the center which will make the bubble barriers disappear, thus allows the player to clear the wave completely (without piercing weapons/consumables).
Whenever a chicken pass through a bubble-protected enemy, they’ll slow down.
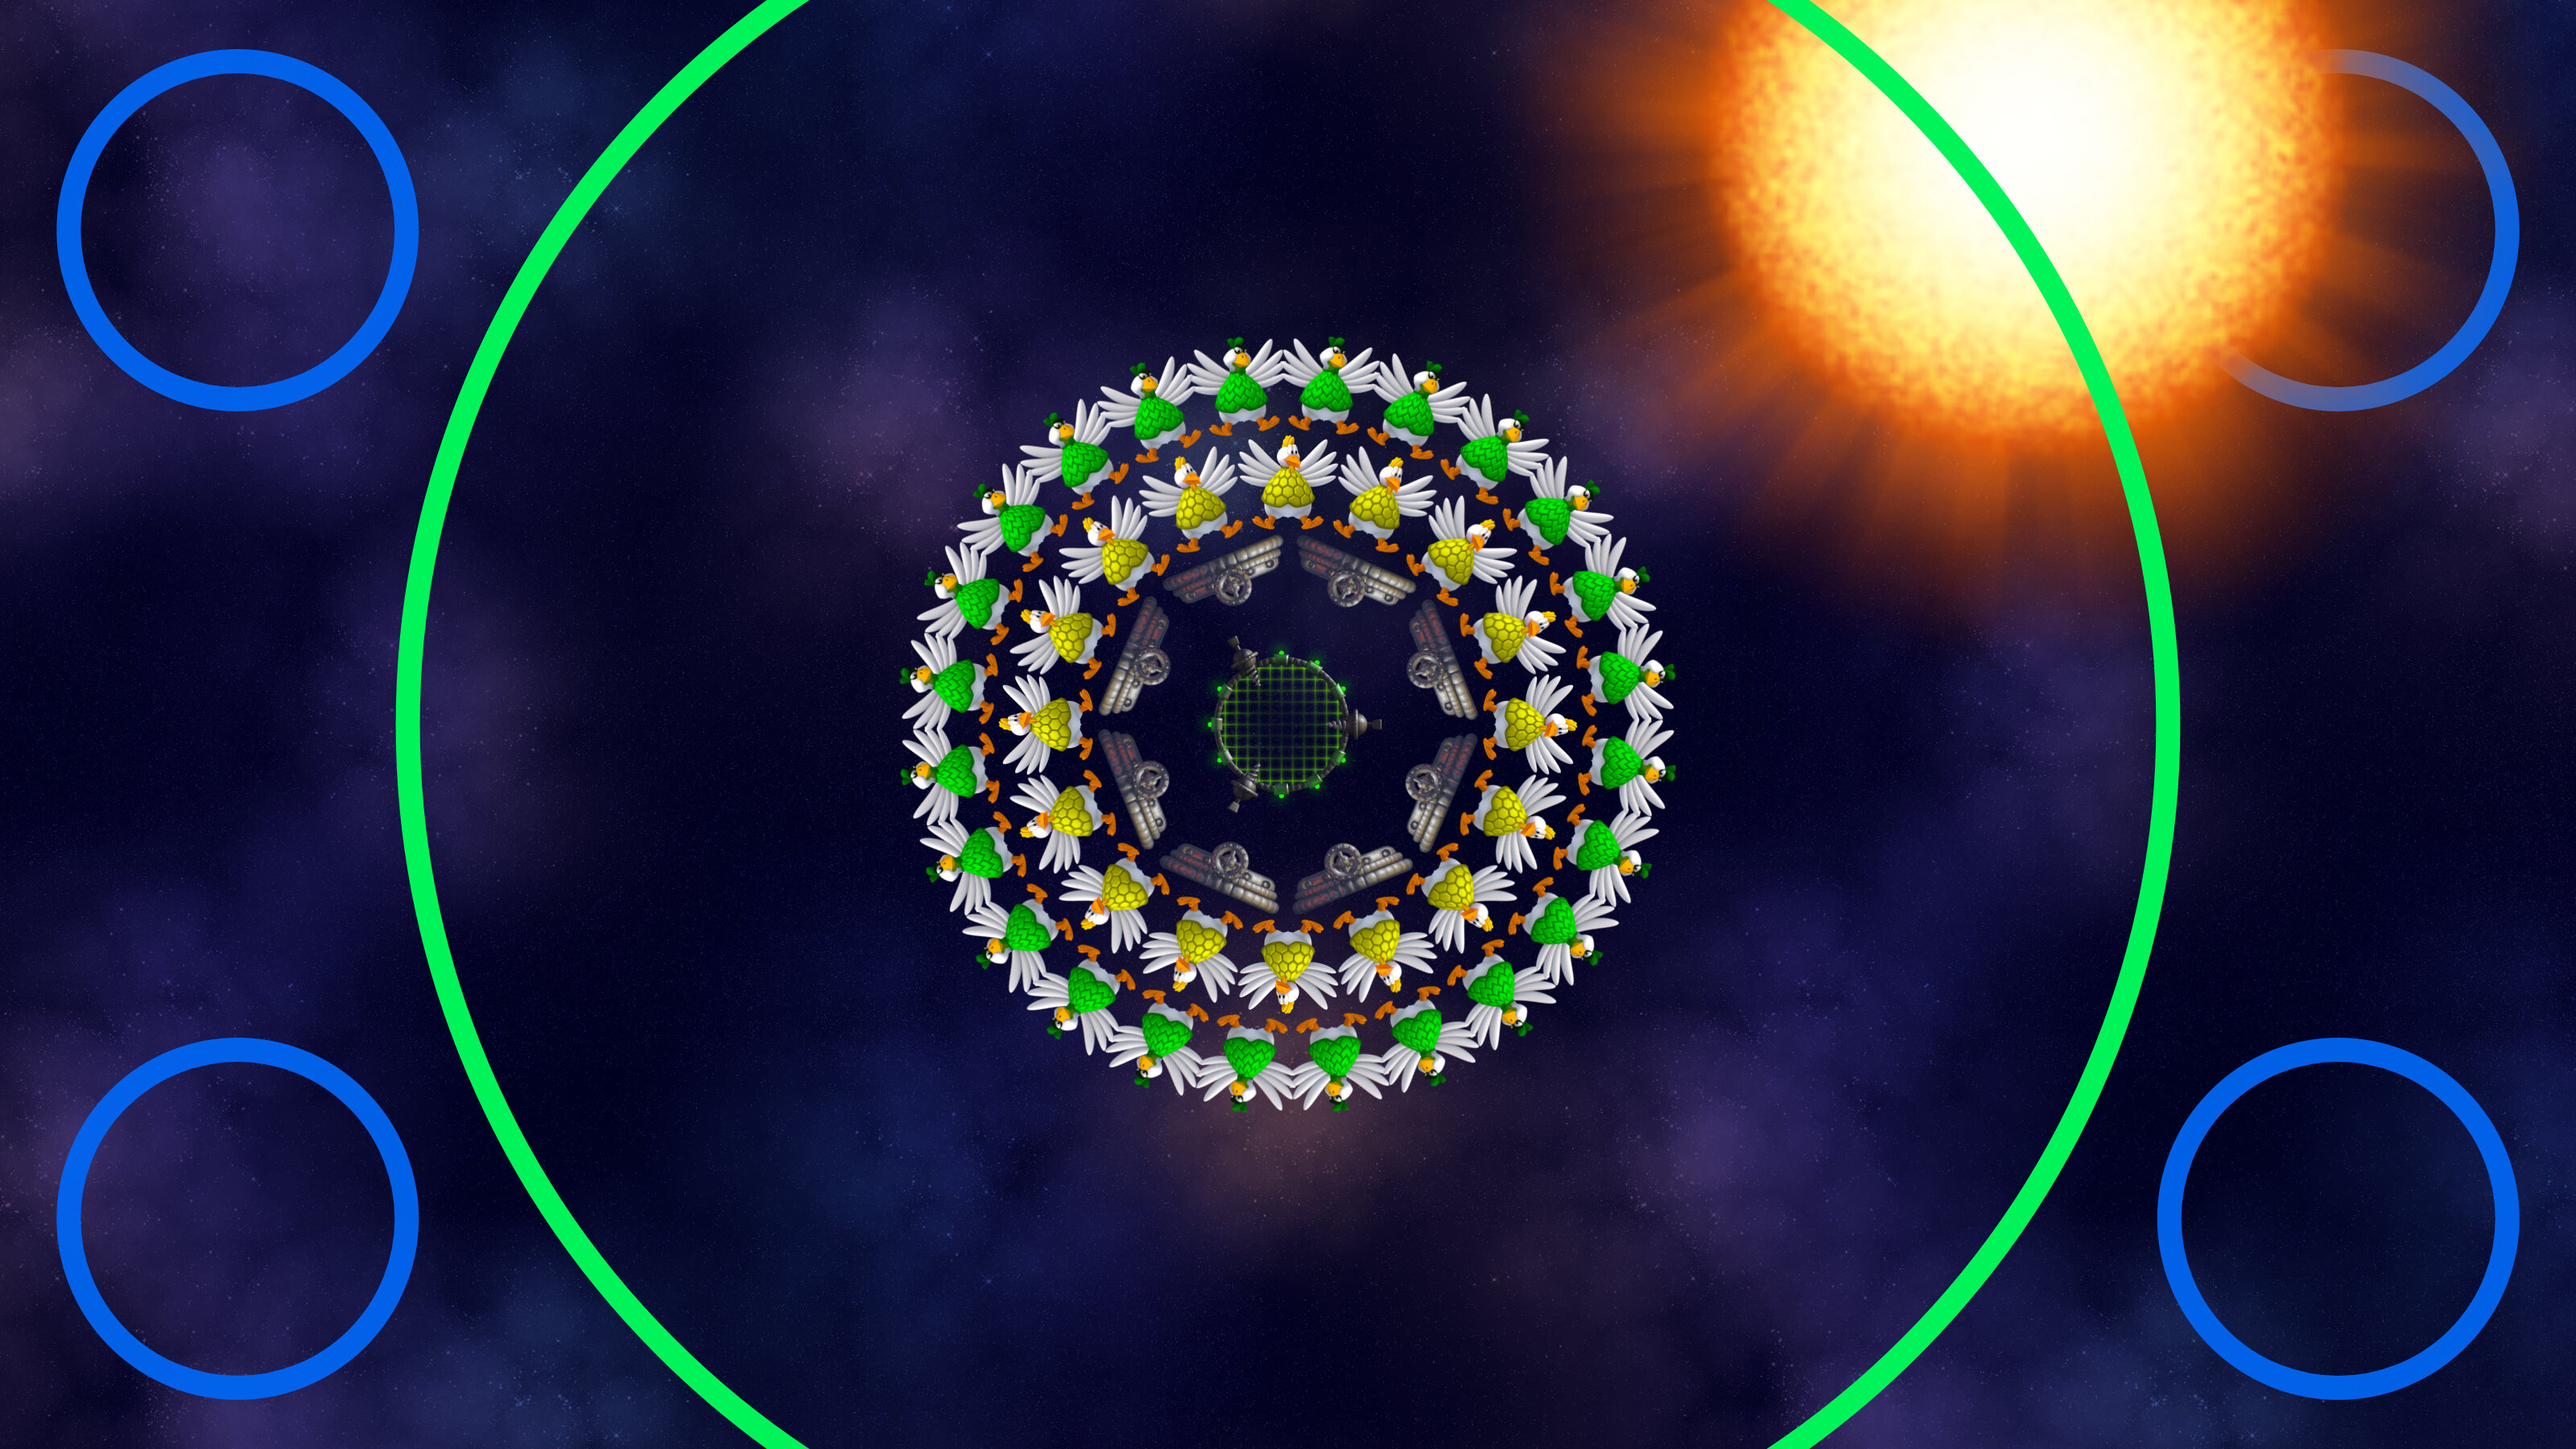
WAVE 10 - Rotary Dial
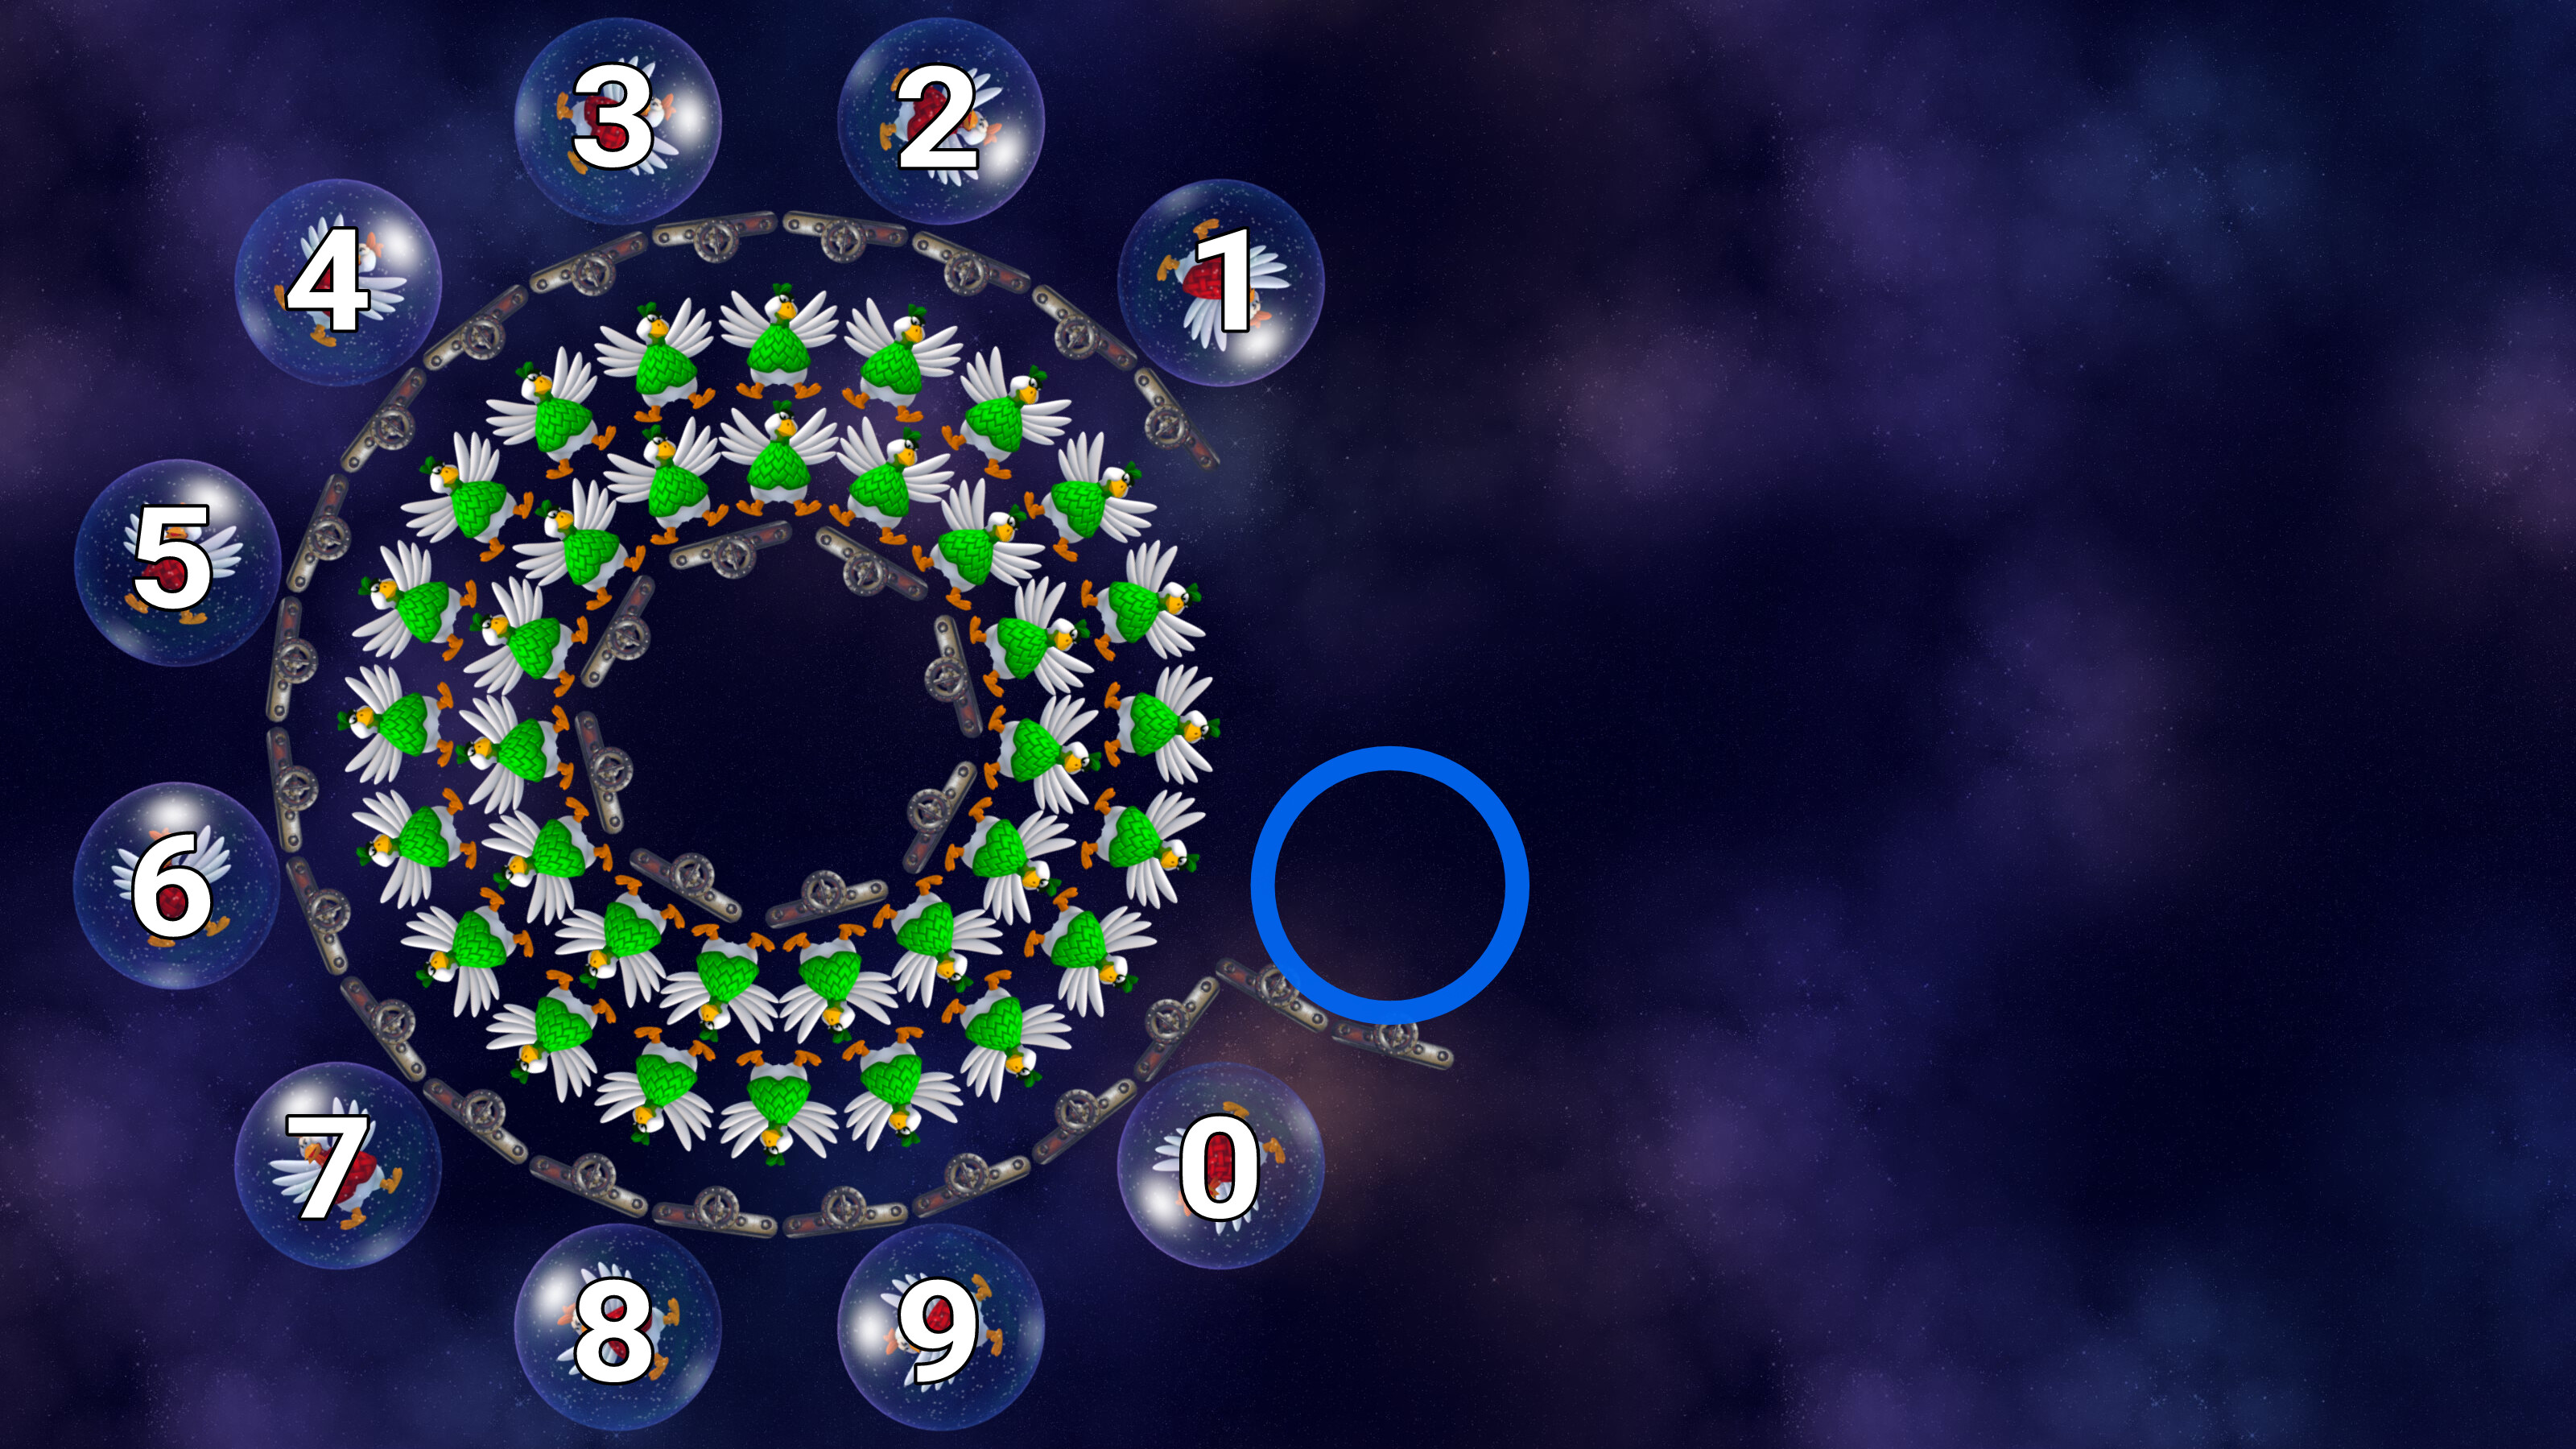
This wave imitates the dialing motion of telephones with rotary dial. Each number are assigned with each enemy that is protected by a bubble barrier from 0 to 9. The dial will rotate periodically (also the enemies inside) until a number assigned overlaps the blue circle from the above picture.
Let’s say no. 1 so the dial will rotate clockwise then will stop at the position above.
Bubble barriers will be deactivate at this point, allowing you to kill all the enemies inside the outer barrier.

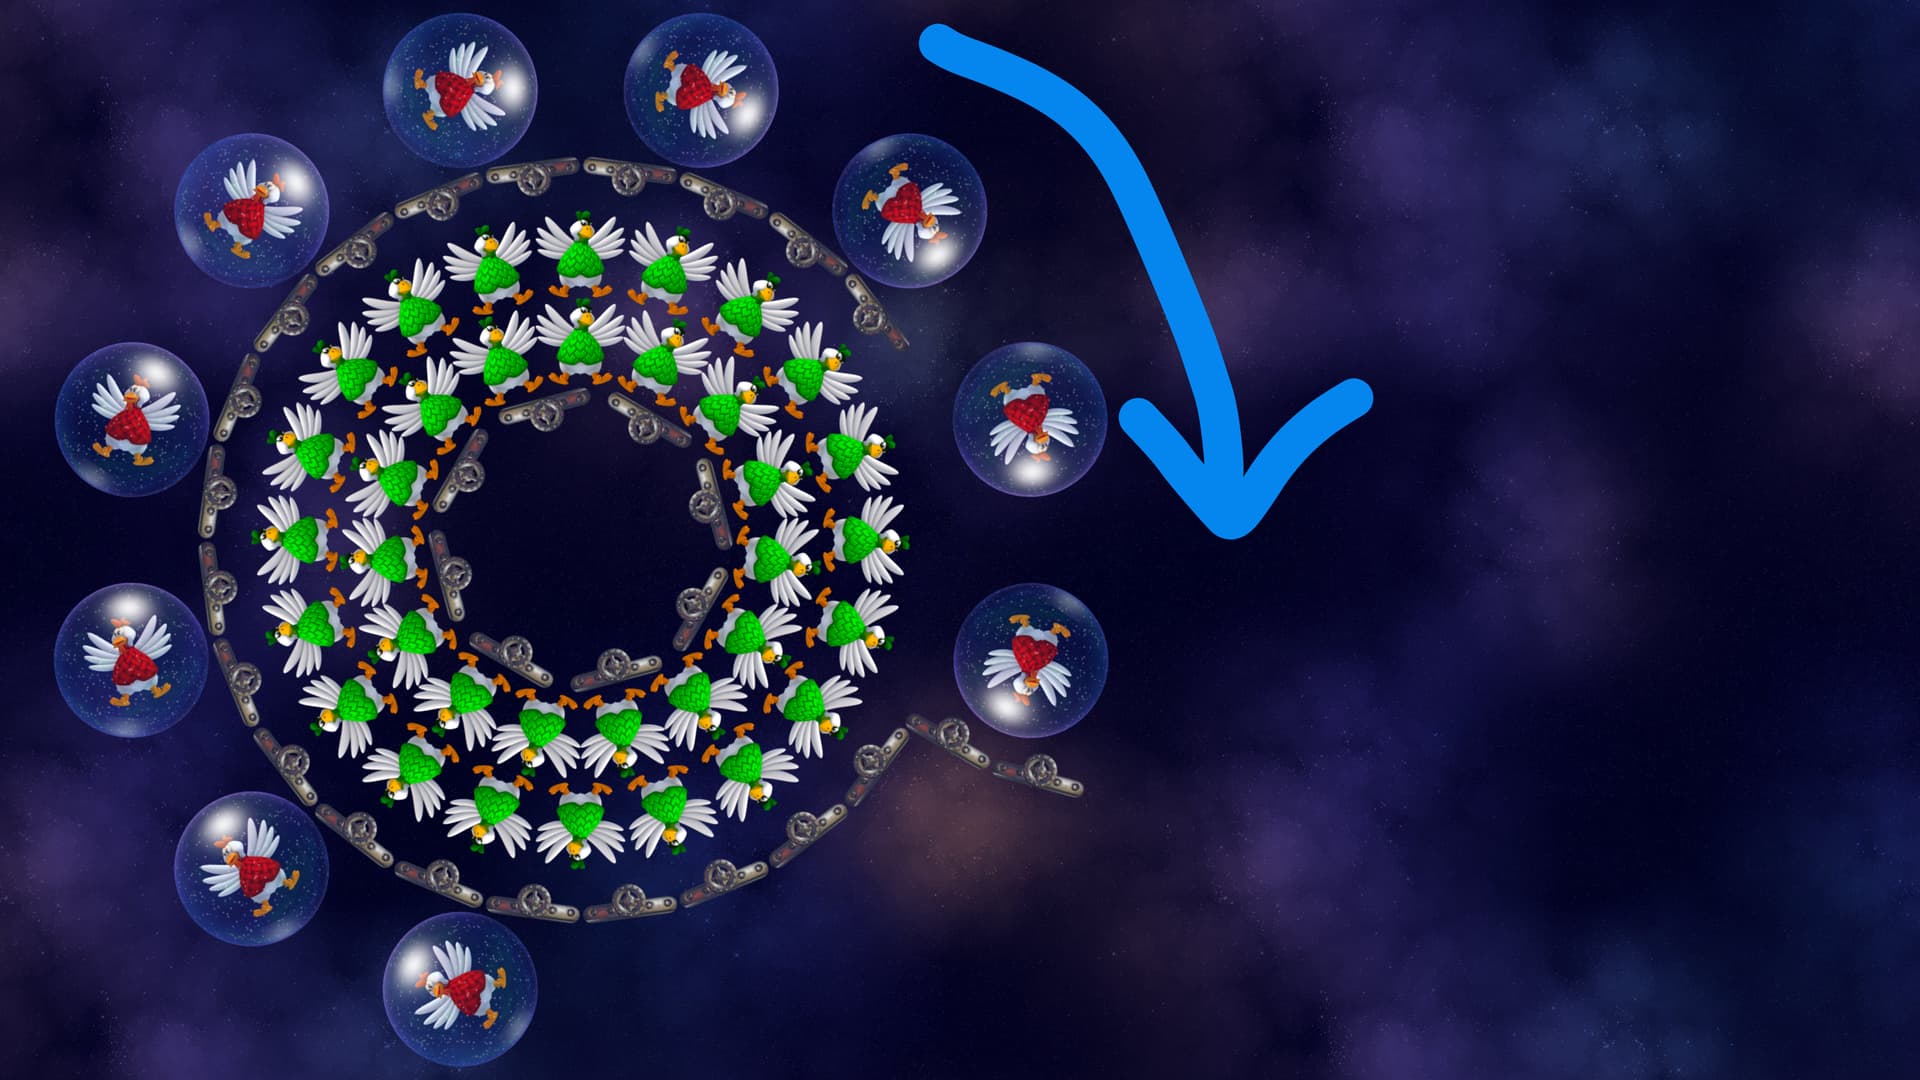
The dial will return to its original position and the bubble barriers will be activated again. Repeating the pattern, but with a different assigned number. If you managed to kill all the number-assigned enemies, all barriers will vanish allowing you to kill the remaining enemies.
For the number RNG, just shuffle 0-9 then loop, example 5637492810.
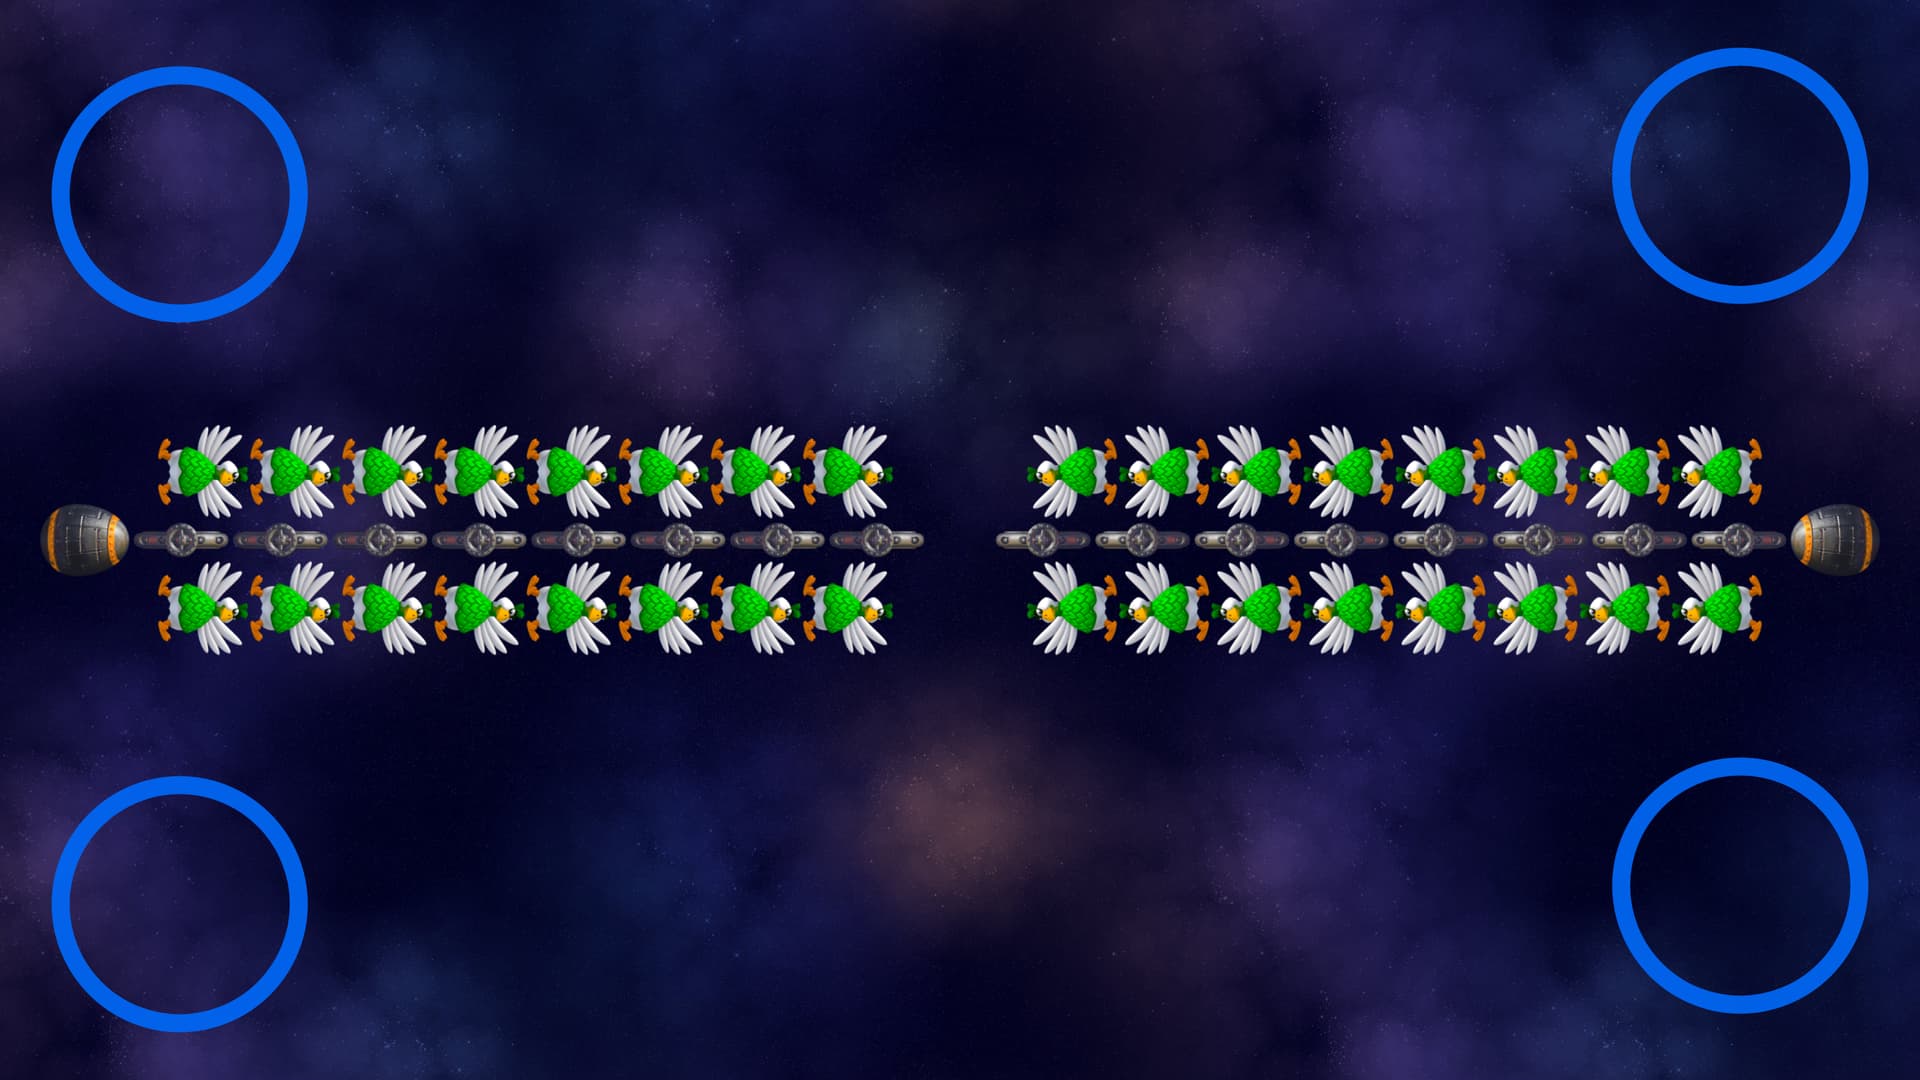
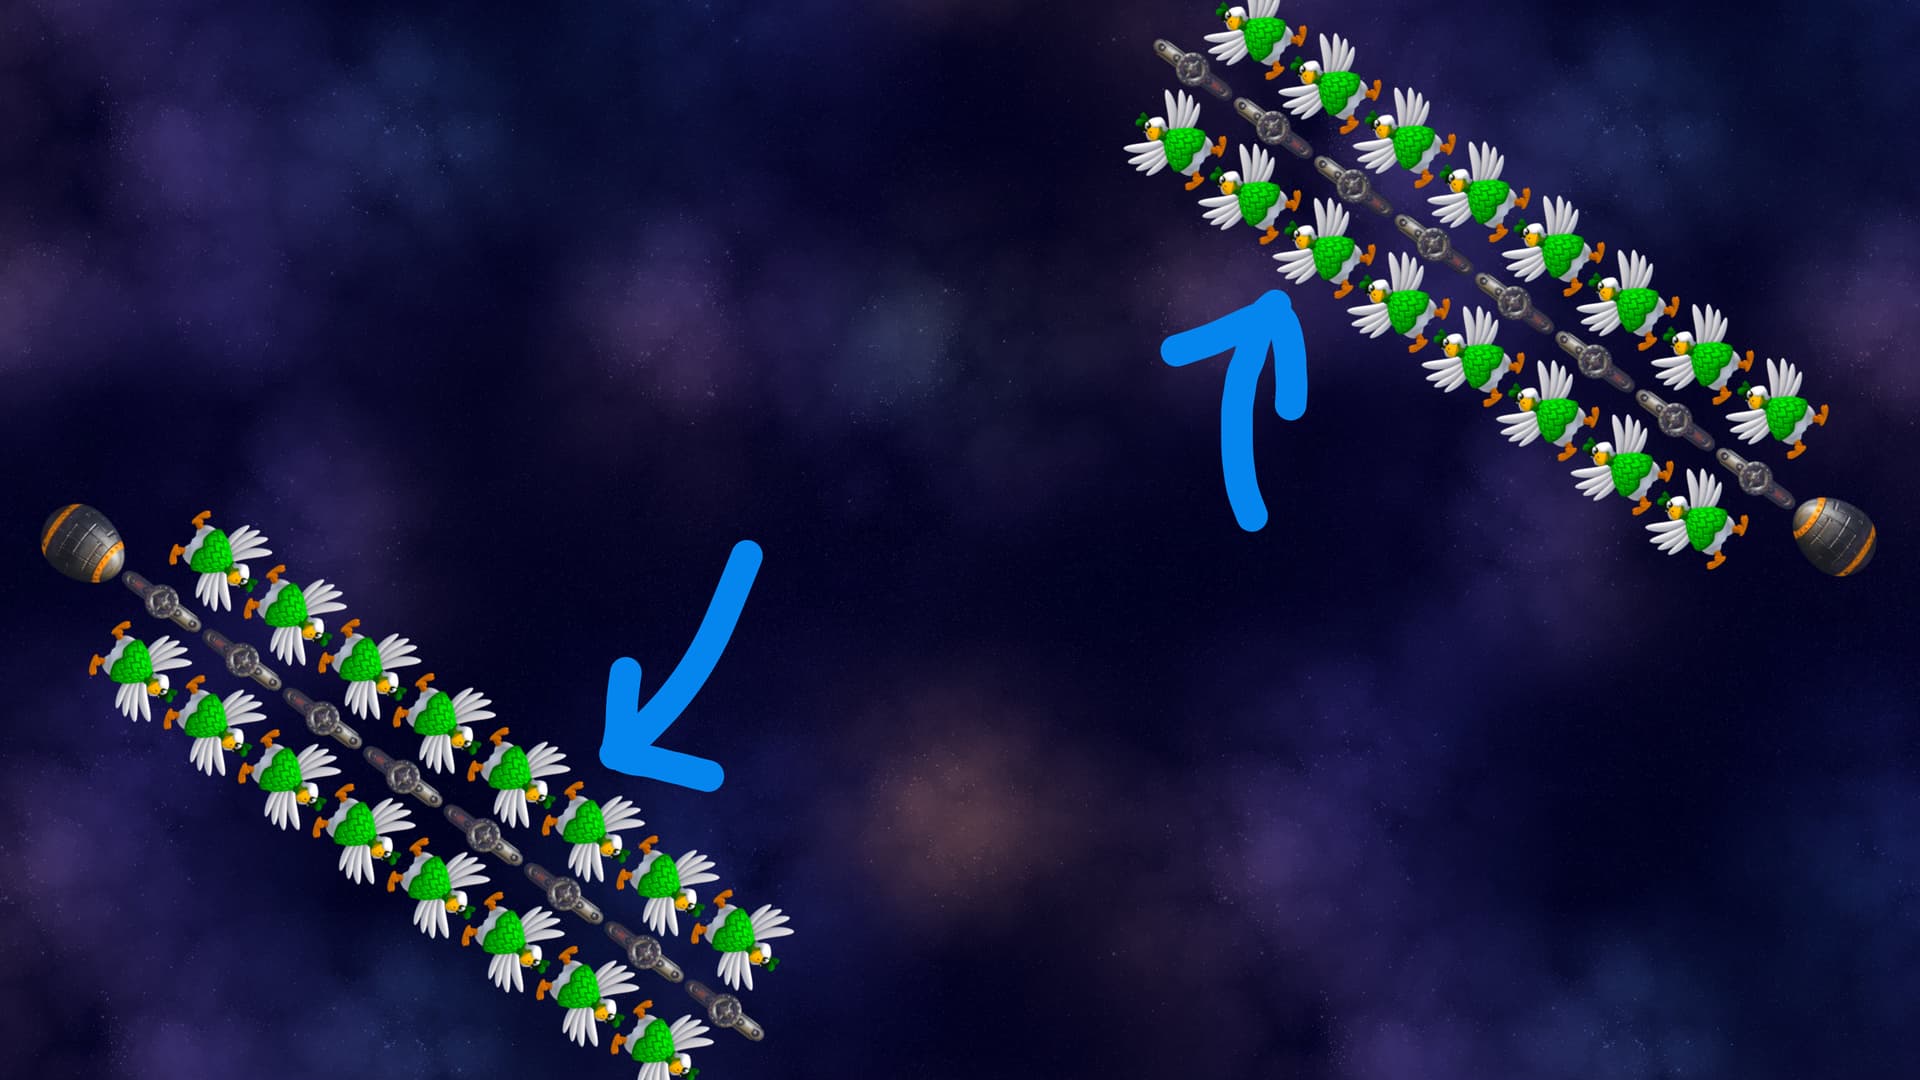
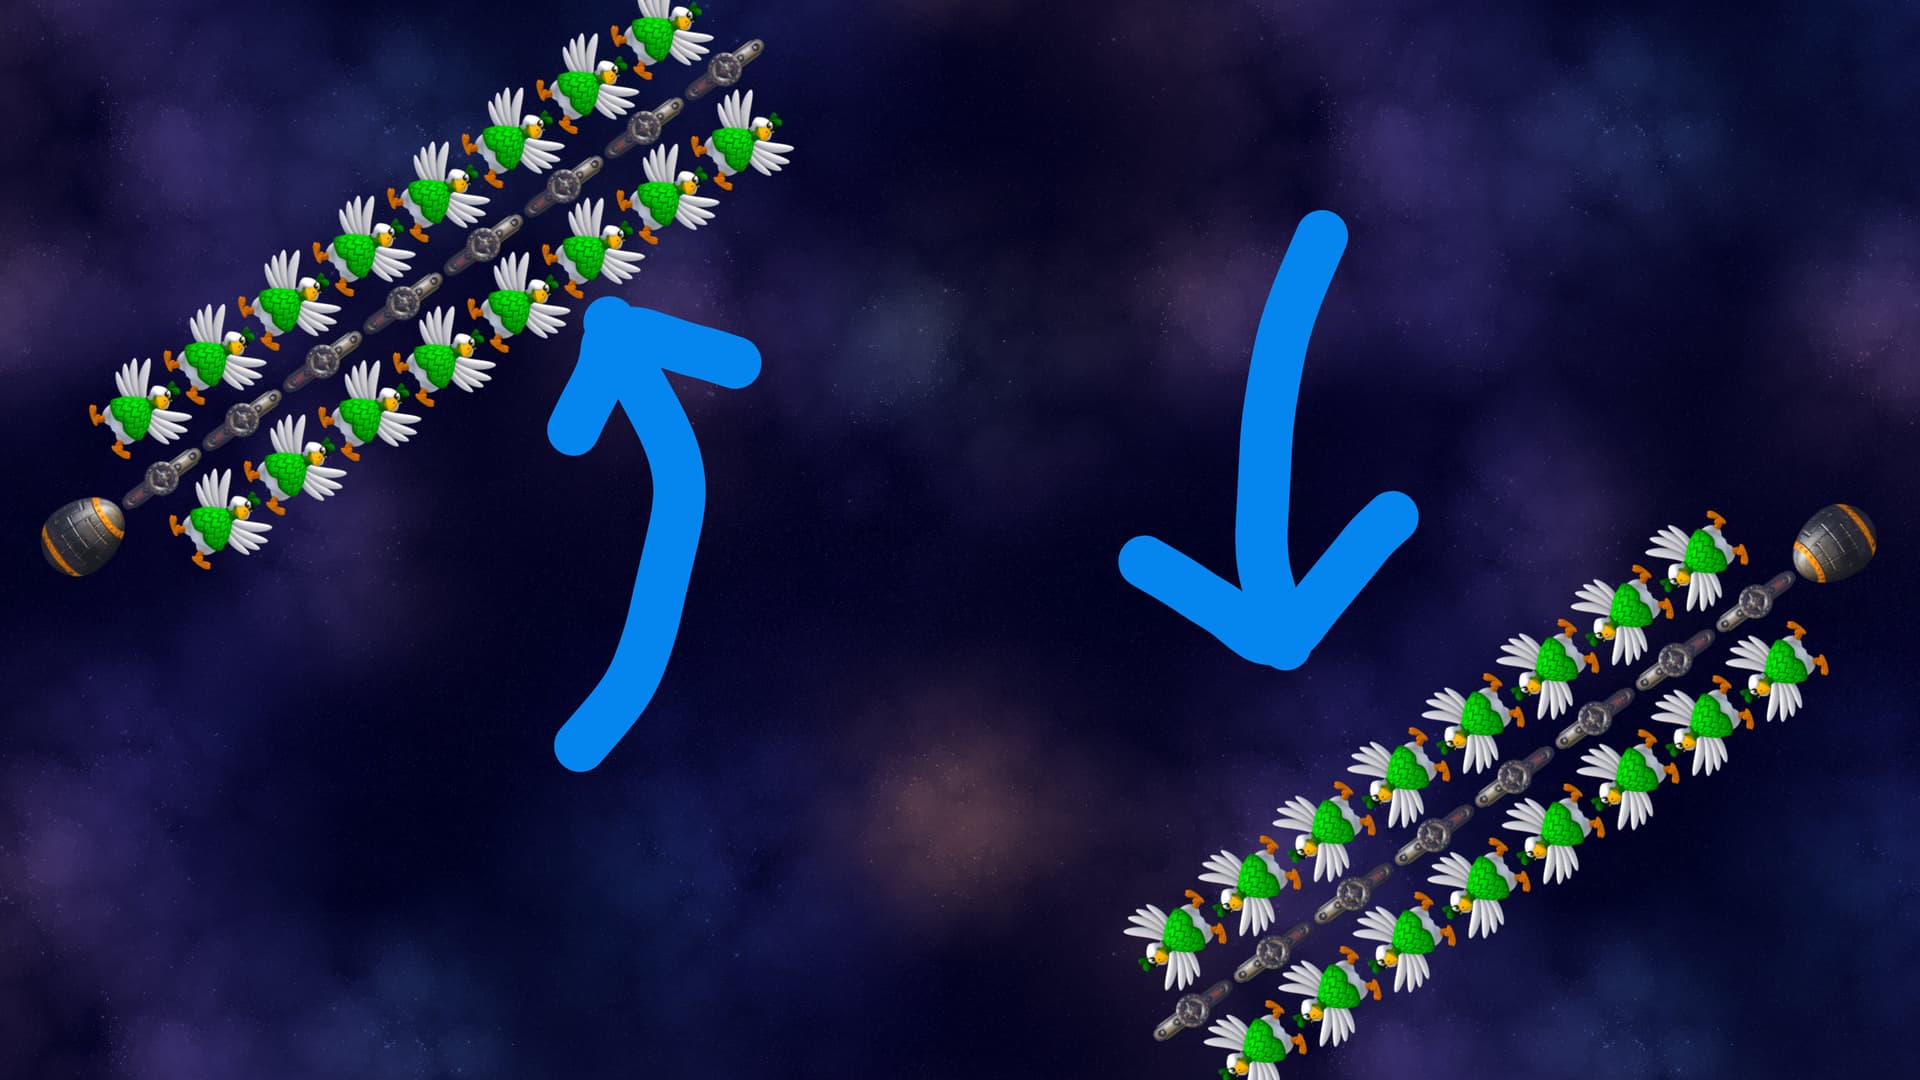
WAVE 11 - The Food Web
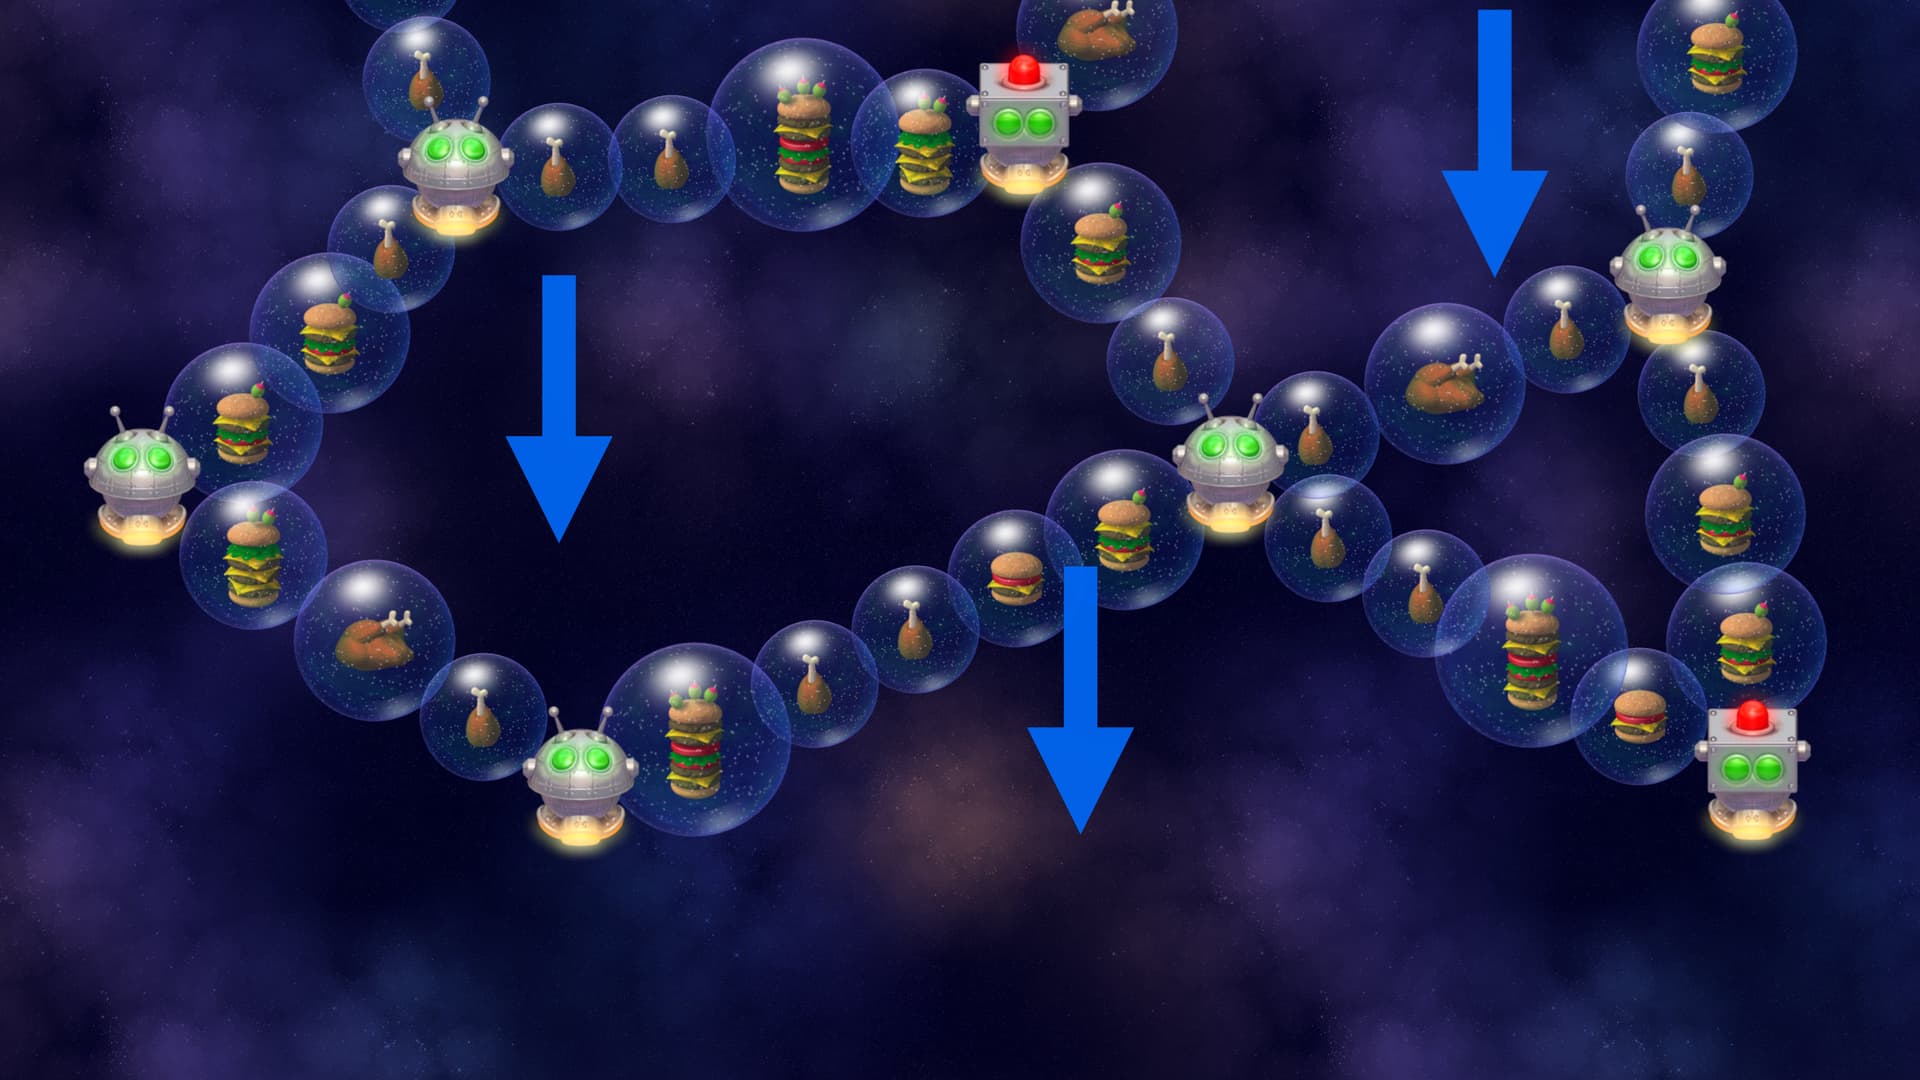
This wave is quite similar to the Electrifying Descent wave but the fences that connects the enemies are made out of food. Watch out for Security Droid that randomly blends in.