Guide to Ironman Competition

The penultimate mission in the Chicken Invaders Universe, the Ironman Competition will test your shoot em up skills up to the breaking point. First comes an overview of the mission.

50 waves
The normal waves are Chicken Invasions, and the boss waves are Double Teams.
100%-100% difficulty (+40% from being locked to Superstar Hero)
+80% projectile speed (+30% more from Superstar Hero)
3 environmental hazards: Massive, Lightning, and either Hot or Frozen

The best way to prepare for Ironman is to play many practice runs. Barring that, flying Elite Chicken Invasion and Double Team missions is the next best practice. Once you are ready to compete, its time to assemble your load out.
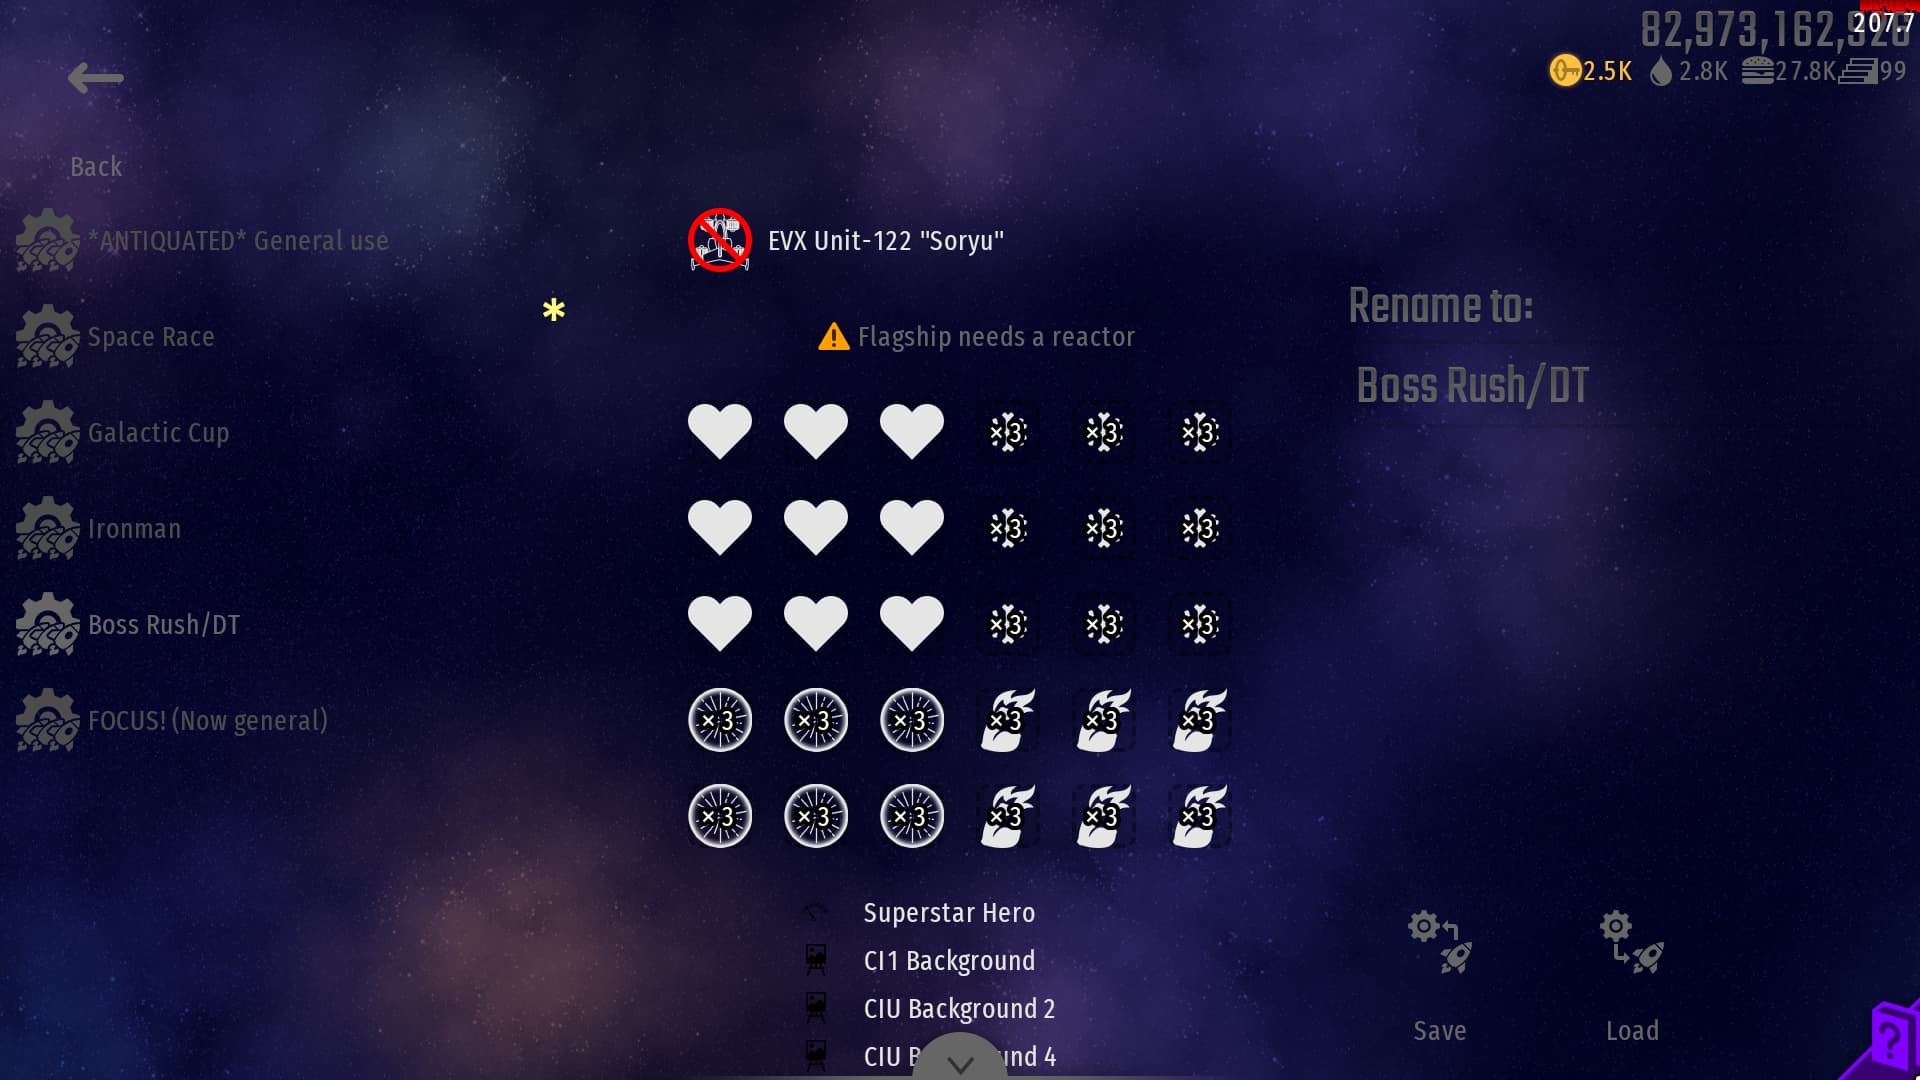
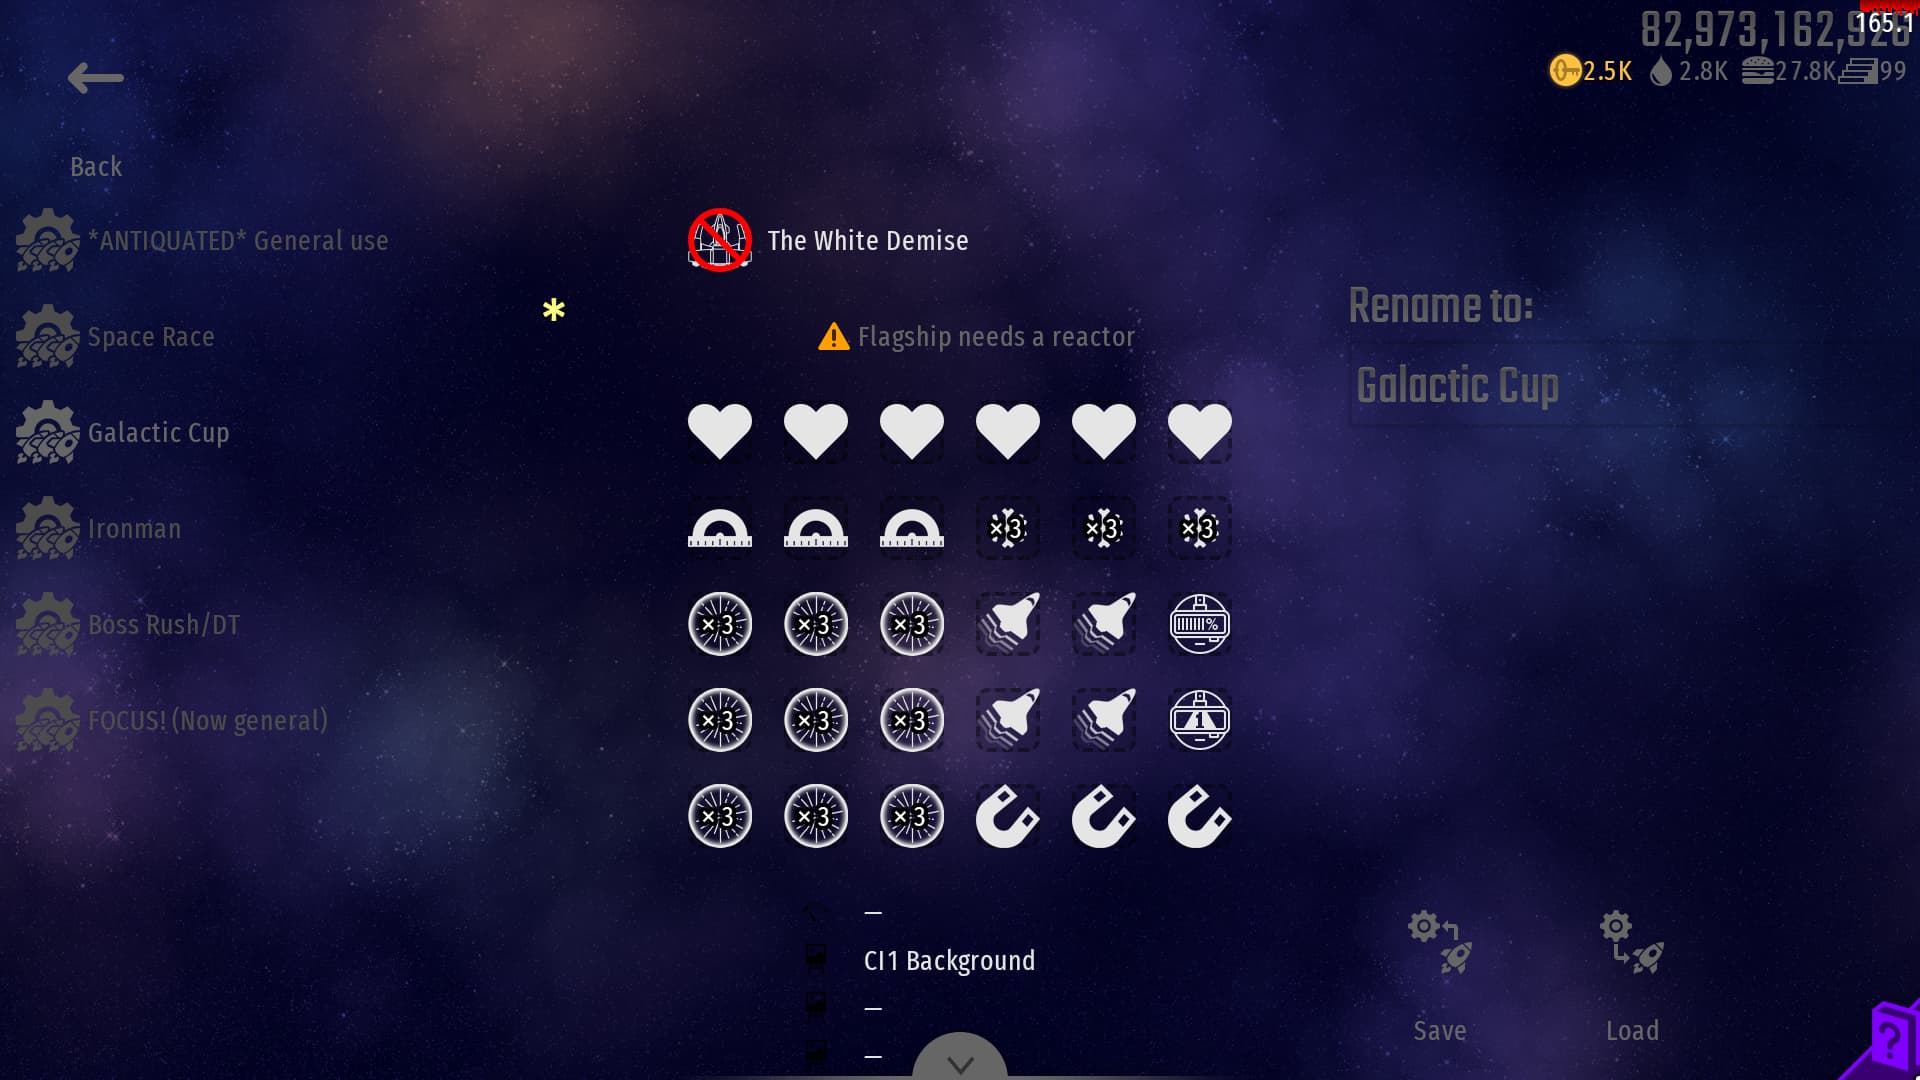
Spacecraft

VF-66 Jackdaw - This is the easiest spacecraft to pilot courtesy of its small hitbox and environmental immunities, but is not recommended for a high score run. Its firepower caps out at 9, making it harder to attain points from multi kills, clean sweeps, and so on. If you are only concerned with beating Ironman, choose it.

M400/M404/M408 - These offer a nice middle ground in terms of maneuverability and firepower. They don’t require as many maneuvering jets as bombers, yet have ample firepower to ensure a high score.

BX-9 Mjolnir - The preferred vessel for high score runs. The BX-9 possessed unparalleled firepower thanks to its twin pylons. Its downsides are its large hitbox and the need to equip more maneuvering jets to move quickly. Furthermore, it is not recommended for less skilled players since they will die too often to maintain the BX-9’s firepower advantage.

Booster

There is no consensus on which booster is better. My experience is that if you have coolant canisters, overdrive is better. If not, accumulator is better.

Weapon

To maximize your score, pick up every present that appears. If your only concern is winning, then the positron stream is the best weapon. Absolver doesn’t do enough damage in DTs and is terrible against specific waves (Spiral of Doom, High Speed Chase).
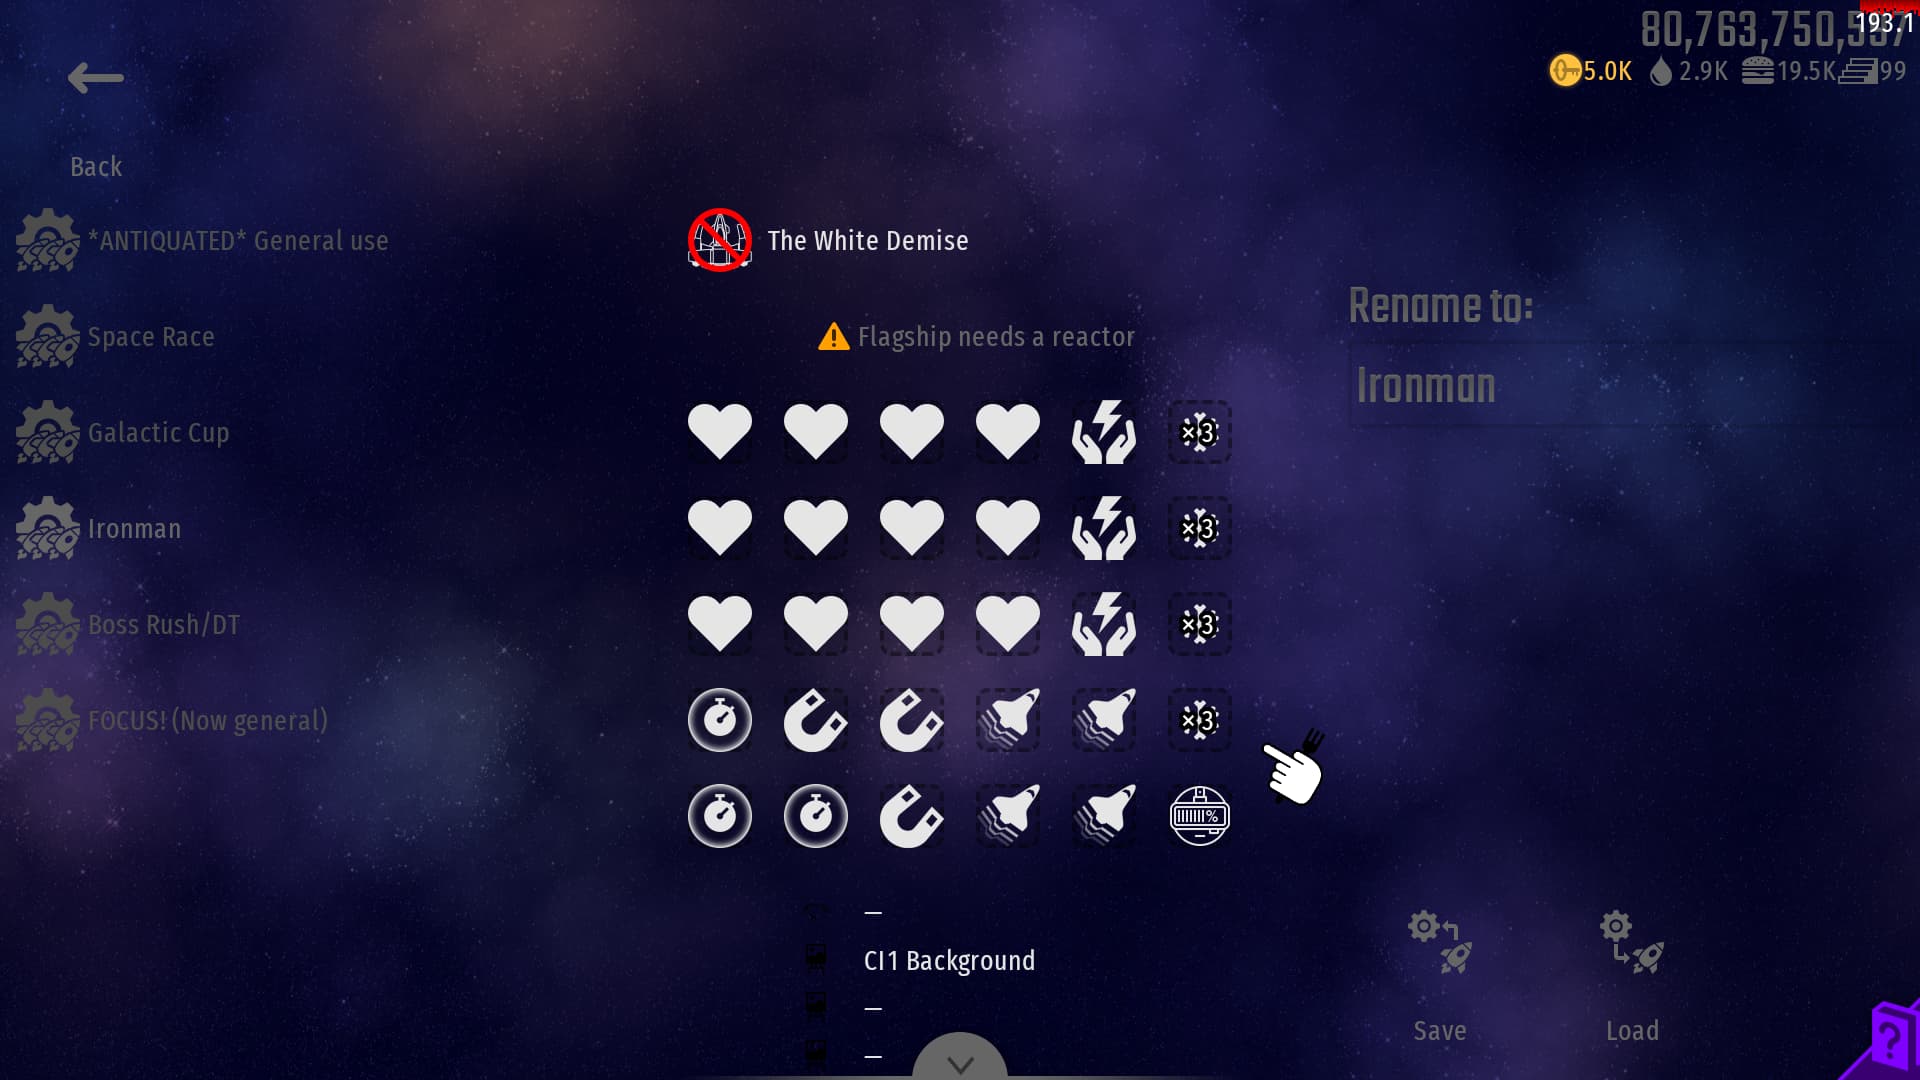
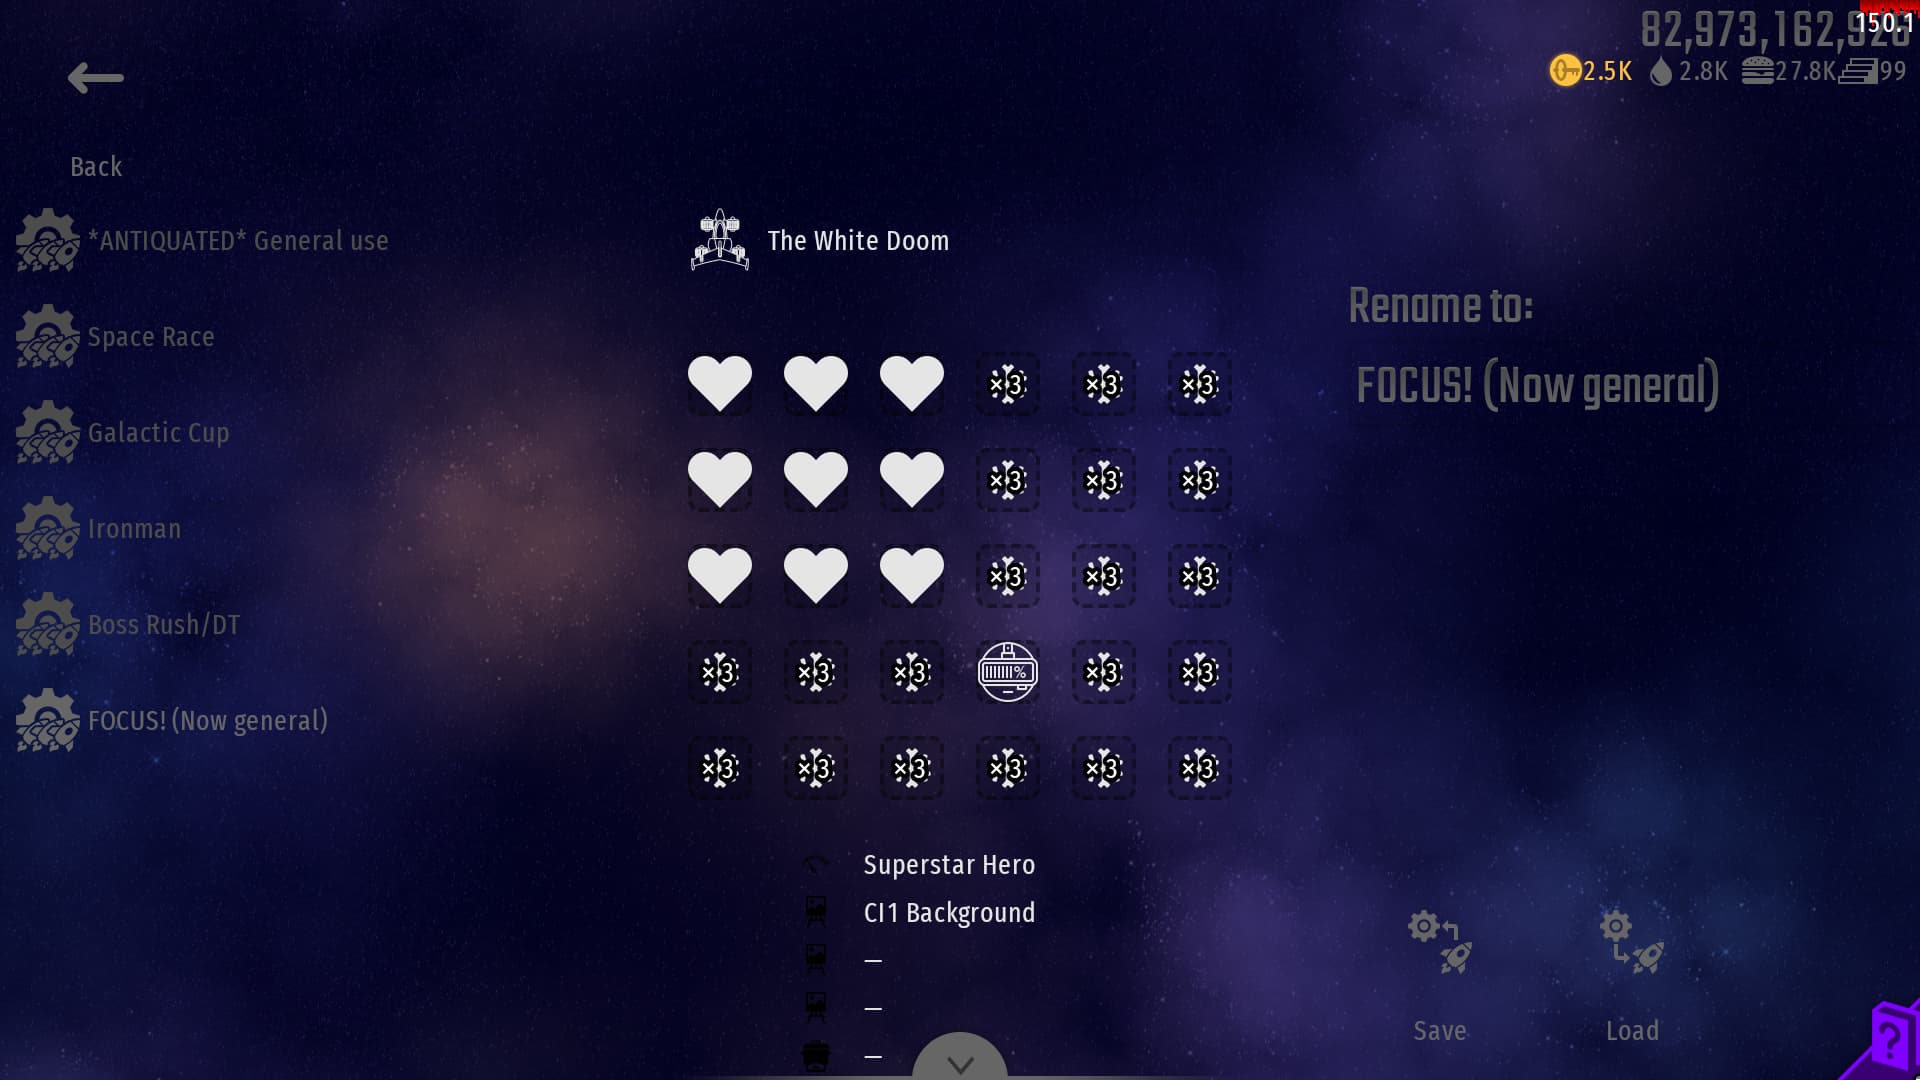
Special Weapons

Missiles/Mines - You want to put these in 1 or 2 slots to clear hard waves such as Palpitating Grid. They deal high damage to everything on screen and destroy enemy projectiles. Keep in mind that using a missile or mine may forsake bonus rewards, resulting in lower score.

Damage amplifier - Great against bosses and hyper dense clumps. Use this to dispatch Double Teams as they are the hardest waves in the mission.

Dimensional phase out - Basically an invulnerability potion. Use when getting hit is unavoidable or if you need to put yourself in a risky position to deal damage.

Other mountables

You will need maneuvering jets if you are flying a muller or especially bomber. Eggular repulsers are useful for reducing the latter’s hit box. Lastly, Appetite Attractors are a must have for high score runs, to tractor in food. I’ll let you work out which of the remaining mountable are useful.
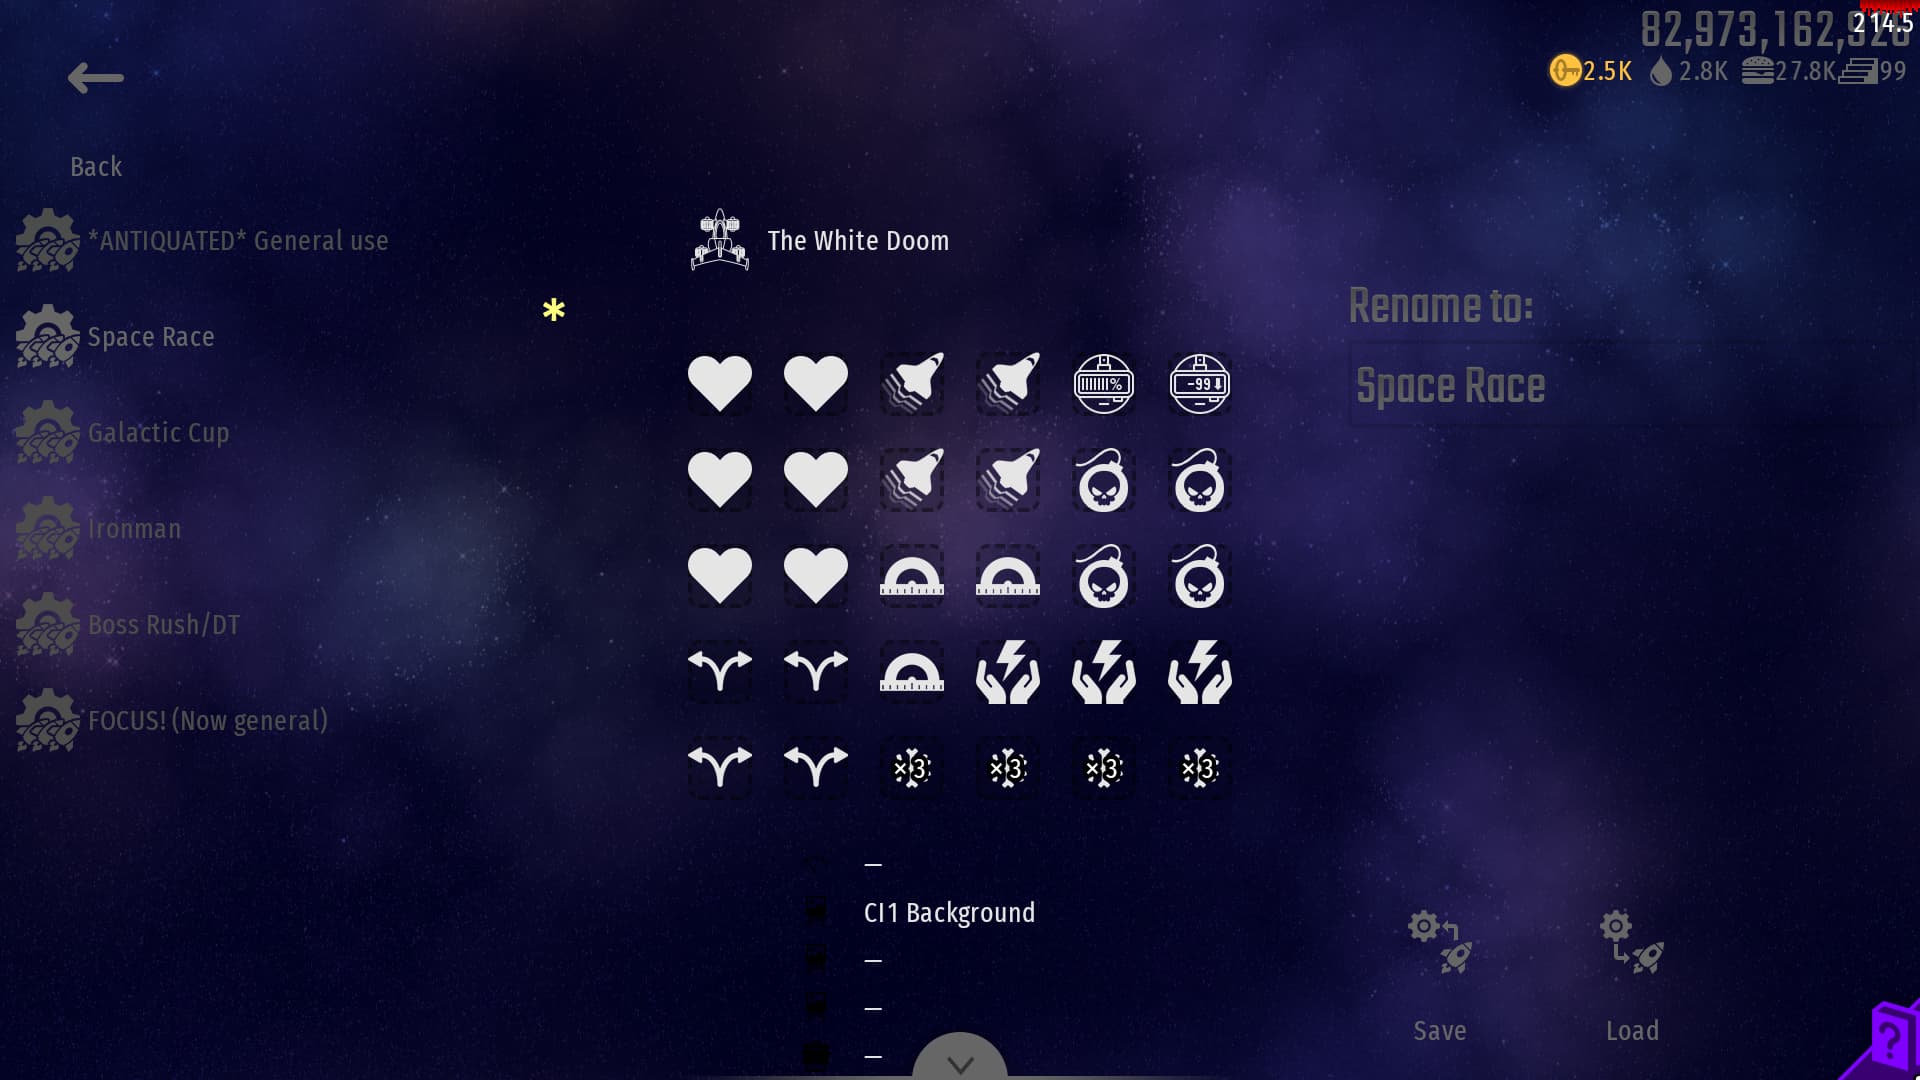
Satellites

Barbequer - A staple for bombers, the Barbequer does high damage to anything caught in its flames and destroys enemy projectiles. Get close and personal to a boss and unleash the fires of teriyaki chicken BBQ.

ICBM - A thrifter’s missile, it does considerably less damage, is slow, and must impact something to go off. However, each satellite holds 5 ICBMs and you have up to 5 satellite slots depending on your ship. Best used against swarms.

Bird Flu Gun - Compared to the ICBM, it has more ammo and a faster fire rate. However, it does less damage per blast and does not destroy enemy projectiles. Still useful for crowd control, but not a good option all around.

Microgun - The minigun is practically useless. It has no utility unlike the other satellites and while it does more single target DPS than ICBM and bird flu, it suffers from lack of AOE and a narrow cone of damage.

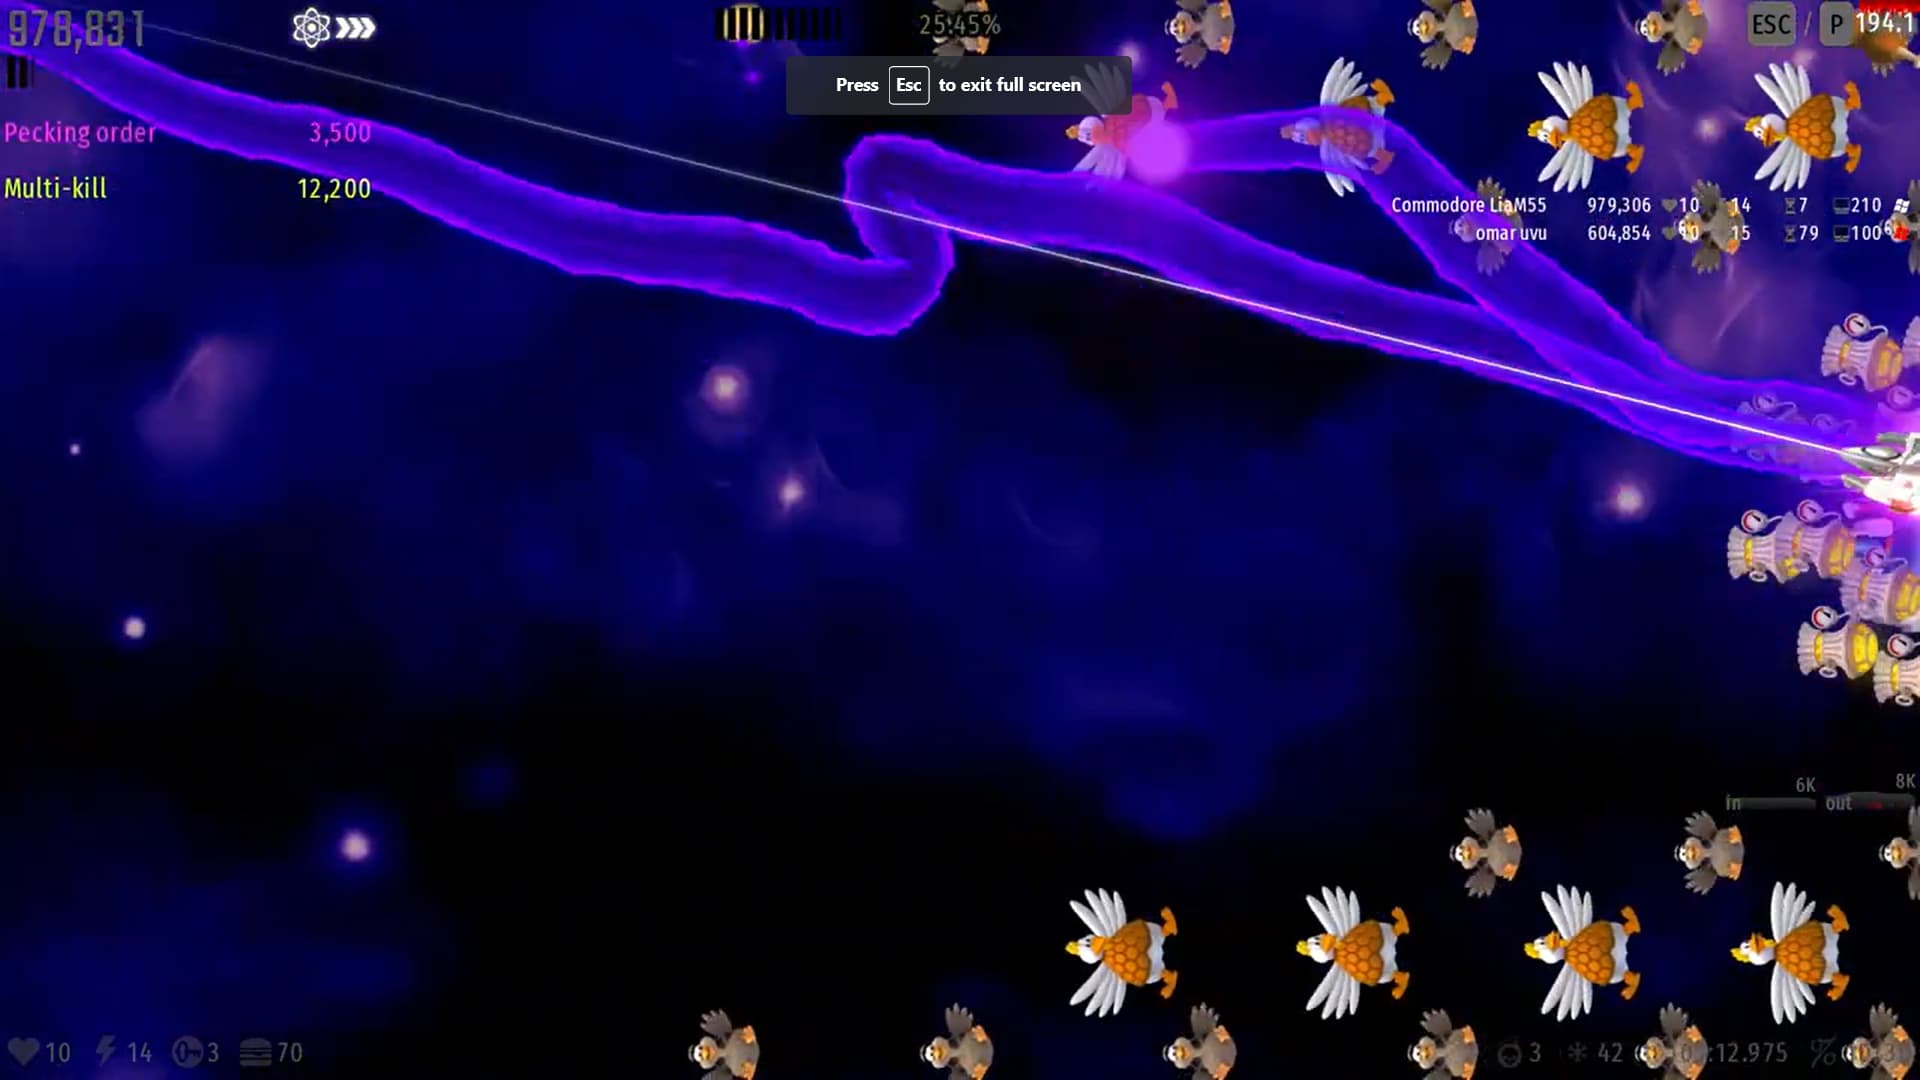
Once your setup is configured, it is time to fly the mission. Generally you want to be on the alert, have good reaction time, and avoid getting backed into a corner. When dodging, small controlled movements are better than drastic movements. Know which waves to use special weapons on so you don’t find yourself depleted when you stumble upon a hard wave.

Double Teams are the hardest types of waves in the game, and the increased projectile speed and environmental hazards in Ironman add another level of difficulty. The easiest way to beat them is to use Damage amplifier and burst down one boss. If that’s too risky, activate Dimensional Phase out simultaneously. Common sense says to destroy the more dangerous boss of the 2. Opinions differ here, but the general consensus is that Crabs and Mysterious Ship are among the harder bosses and Mother Hen Ship, Iron Chef, and Big Chicken are the easier bosses. Experience is the best way to tell.

That’s all I have for now. If anyone has additional tips, feel free to chime in.

19 Likes

Perfect tap thanks man😘

Just to correct you for one thing:
No, Microguns aren’t useless at all. It’s great for dispatching Double Teams in the fastest way possible with, or without amps. Plus, they last 25 seconds each, and has probably the highest dps (3,000 DPS) for a satellite. Don’t bring them with a M408, however, as at least one of them will most likely miss.

As for the other stuff…
ICBMs are probably not something you should be bringing, actually. If you’re going to bring a wave clearer, bring Bird-Flu Guns. Unless you want to use them for clearing projectiles, or to merely soften enemies to make them easier to clear out.

BBQers are more for defense than offense. Don’t waste your ammo on enemies with it unless you’re desperate, as it only has 10 seconds worth of ammo.

You probably won’t need Missiles or Mines if you can do well enough to maintain a high level of Firepower. Best spend some extra keys and use the slots for Dimensional Phase-Outs instead, where you can *hopefully* guarantee your safety and try to create a safe spot within these 4 seconds of invulnerability.

Big Chicken, while it dies rather quickly, can actually be a threat if you underestimate it. It moves surprisingly fast (which means if you’re unlucky, it can corner, and/or ram you), and these eggs may or may not give you a problem at times.

There’s no need to always destroy the more dangerous of the two first. Even clearing one of them already makes the wave an ordinary boss wave, which should not pose much of a threat anymore.

4 Likes

I would rather be stuck contending with occasional warning lines and slower movement speed than a pitiful 9 firepower (I won’t even mention Hot or Cold, just learn how to use the Accumulator). Damage is king especially in a competition where a ton of shit is going to be thrown at you and frankly, the best counter to this would simply be to wipe the screen as quickly as possible; that way, they won’t be able to throw as much shit at you. If you don’t want to use a BX, I would honestly recommend the Muller far more than the VF, the latter is just too weak to be worth it. Besides, battling the elements will help you improve as a player.

I should also bring up the utility of Power Preservers and Invuln Extenders. You can expect to die a fair amount of times even during the early stages, and the last thing you want to be stuck with in a competition where damage matters, is low firepower, so being able to reduce your fp loss from a painful 5 down to a much more benign 2 is always good to have.

Invuln Extenders are a lot more self-explanatory; mounting 3 grants you 11.5 seconds of total invulnerability, allowing you to go to town with your primary. Not just that, they can also double as Dimensional Phase-Outs, though they of course require you to die to work.


This is my personal IM build. Bringing Invuln Extenders means I don’t have to bring DPOs, and running a BX-9 with Power Preservers means my firepower is always good, so I also don’t have to bring Amps.

As for Eggular Repulsors, as much as they’re nice to have, I would honestly rather dodge shit outright than gamble my hitbox size.

Lastly, I disagree with the point that you should grab every weapon that drops. A good example would be if the early waves had a lot of tough enemies that can escape; I personally don’t think grabbing that Photon Swarm or Ion Blaster to replace, say, a Plasma Rifle, would be the smartest thing to do. This is why I also recommend bringing Wave Insight; knowing what the next wave will be can stop you from unknowingly picking up a weapon that will severely harm your potential.

7 Likes

Good topic, i was looking for some tips to start playing Iron missions.
@JenningsLA thanks for sharing your mission config choice, good points on your guide. I was also very curious about your other presets for every type of mission. May i ask you kindly to share them with me?

Sure, I got nothing to hide.

For starters, here’s my general loadout

If it looks weird, I don’t really blame you. Nowadays I never use special weapons except for key farming so I just slap on a ton of coolant as filler. The Progress HUD is just nice to have and look at so I never fly a mission without one.

My OLD general loadout looks like this:

I eventually started finding all the other HUD addons obstructive even though I use a dark, transparent colour theme, and as mentioned before, I don’t use specials anymore so I shed those as well.

Next one is my Space Race loadout:

Some waves can actually be rushed by deliberately blowing your ship up with Poultry Paybacks. If it turns out I don’t need to use this suicide strat so often I can drop the Power Preservers since they’re expensive. The Bullet Spray Expanders and Thrust Vector Controls grant my weapon an even greater reach sideways, meaning I can spend less time moving to get into a good firing position. If that doesn’t make sense then I hope this image I took from one of my race videos can explain it:


Rather than wait for the chickens to turn around, I can just drift up and down and start shooting them right away

Boss Rush/DT is just this, nothing interesting. This is another config I don’t use anymore for the same reason as my old general build:

And finally, my Galactic Cup config:

Jets for mobility, Attractors for grabbing drops (duh), Pecking Order HUD to help me maximise my points, and… 27 DPOs. But why? Four words: Possibility of Comet Chase. The meta for those is you… pop all of them on the first wave and… shoot everything. Yeah, that’s what you do… sounds stupid, but it is the safest way to collect the coins, kinda hard to do when you’re busy trying to dodge everything.

6 Likes

intelligence increase

2 Likes

@JenningsLA i really like your way describing and proving points, i guess your flight experience proves it. Much appreciated your effort, i will have some fun experimenting your choices of playstyle!

1 Like

This topic was automatically closed 14 days after the last reply. New replies are no longer allowed.